I am in love with this recipe and this will be something I will be baking very often. I love to have warm apple pie topped with Vanilla ice cream (or frozen yogurt nowadays).
Apple pie had been on my to-do list for a very long time. I was always under the impression that it was going to be a task to bake the apple pies and kept postponing.
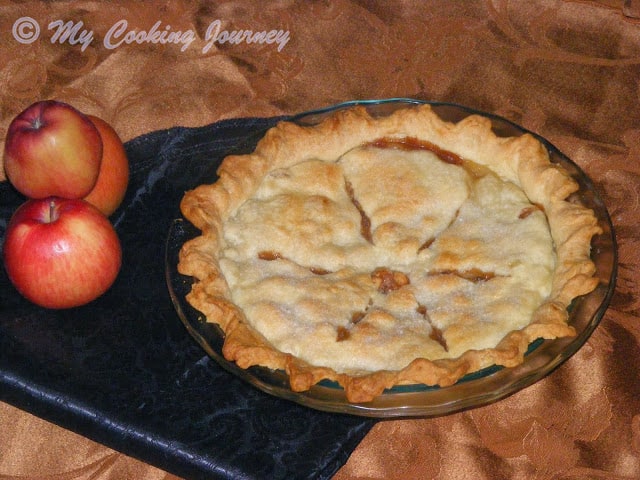
When I joined the Baking Partners group, they had made this pie the month I joined. I was a little late in the month, so skipped baking it with them. Ever since then, I wanted to follow Swathi’s recipe and make the apple pie.
Finally, with loads of apples still lying in my house, I braved through the recipe, and guess what? It was a breeze to make them and I actually made them two times consecutively.
I am in love with this recipe and this will be something I will be baking very often. I love to have warm apple pie topped with Vanilla ice cream (or frozen yogurt nowadays).
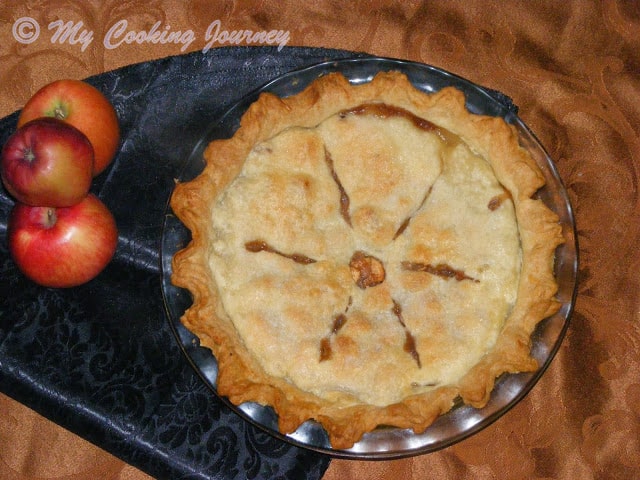
I have been savoring this apple pie every night since I baked it. The first day when I baked it I wanted to make it the mini apple pies. For some reason ( I came to know the reason later, thanks to Swathi for her suggestions), my pie did not retain its shape and I could not take it off the muffin tin in one piece.
They tasted great and more than half of them disappeared right away. I still could not get a picture-worthy pie (that is as important as a great-tasting pie, right?). So, I made it as a whole pie the next day after finding out the reason for my breaking apart pie and it was a hit, taste-wise and appearance-wise.
Granny Smith is the most preferred apple for baking apple pies since they have low moisture content. I had used an assortment of apples and hence I had more moisture in my filling.
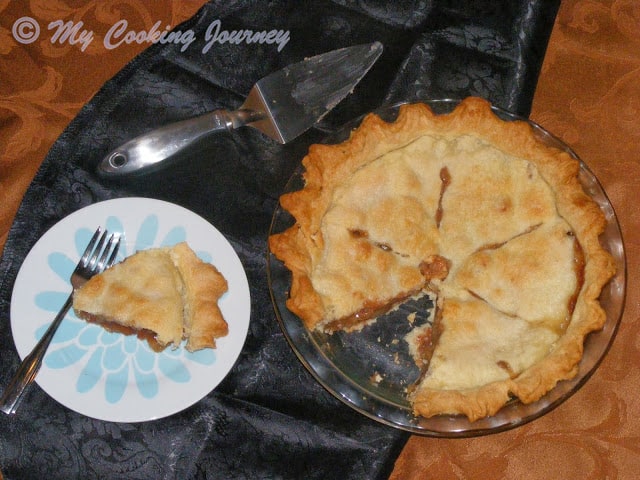
So the mini pies, I had made kept falling apart. To correct my problem, Swathi suggested that I use more flour when making my filling. So I increased the flour and it worked like a charm.
Also, I would suggest that if you are making mini pies, grease the muffin tins at least around the edges to release the pies easily.
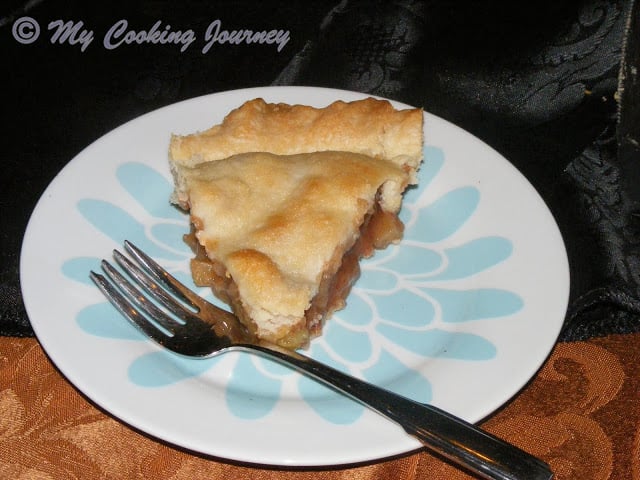
My kids, husband, and I enjoyed this warm pie with ice cream as our evening snack over the weekend. Hence, I am sending this recipe over to my day 2 of evening snacks for the Blogging marathon.
Preparation time – 20 minutes plus about an hour to chill the dough
Cooking time – 50 – 60 mins
Difficulty level – medium
Ingredients to make Apple Pie – (Makes 1 9 ½ inch pie)
For crust –
- All-purpose flour – 1 ¾ cup / 245 g
- Salt – ¼ teaspoon / 2 g
- Sugar – 1 tablespoon / 15 g
- Chilled butter – ¾ cup / 157 g
- Ice cold water – 3-5 tbsp
For the filling –
- Apples – 4 (large)
- Lemon juice – 1 tbsp
- Brown sugar – 3 tbsp
- White sugar – 3 tbsp
- Cinnamon – 1 tsp
- Ground ginger – ¼ tsp
- Nutmeg – ¼ tsp
- Allspice – ¼ tsp
- Salt – ⅛ tsp
- Corn starch or all-purpose flour – 1 tablespoon – 3 tablespoon (depending on the kind of apple)
- Butter – 1 tbsp
To make the top glaze/wash -
- Milk – 2 tbsp
- Granulated sugar – 1 tbsp
Procedure to make Apple Pie –
To make the crust
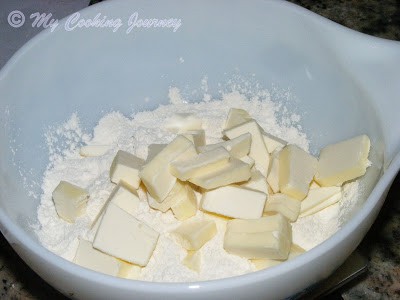
- In a large bowl, mix the all-purpose flour, sugar and salt. To this add small bits of chilled butter. I weighed both my flour and butter instead of measuring it.
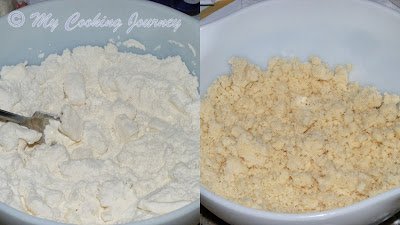
- Using a pastry blender or a fork, work the flour and the butter until it starts resembling crumbs.
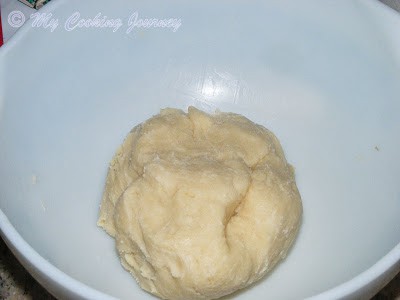
- Now slowly add about a tablespoon at a time of ice-cold water into the mixture and make dough. I needed about 3 tablespoon of water to make my dough. Depending upon your dough consistency carefully add one tablespoon of water at a time and form a soft dough.
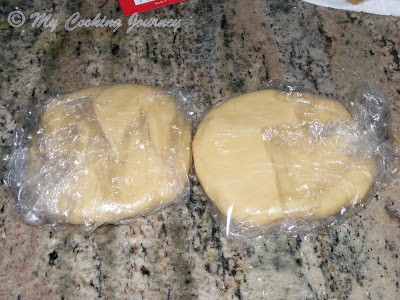
- Divide the dough into 2 equal parts and wrap it in plastic wrap. Refrigerate the dough for about an hour. At this stage, you could also freeze the dough for about a month.
Make the filling –
- Peel, core, and cut the apples into small pieces. To this add the rest of the ingredients (except the butter) and mix well. Depending upon the kind of apple, use either 1 tablespoon or more of flour. I used about 3 tablespoon of flour for my filling and it was perfect. Leave this mixture aside for about an hour.
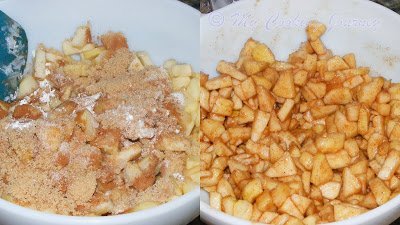
- At the end of the hour, you will notice that the apples have let out moisture. Collect this in a bowl, add the 1 tablespoon butter, and microwave on high for 2 minutes. The liquid would have been reduced by this process and would appear syrupy.
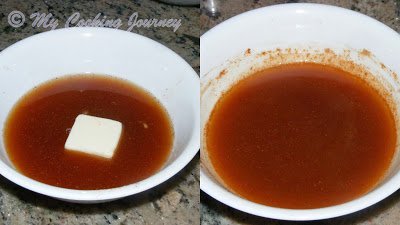
- Pour this syrup back into the apple mixture and mix.
Assembly –
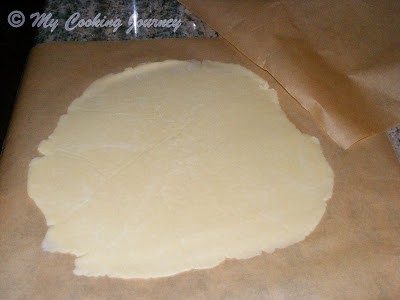
- Take one of the dough out and in between two layers of parchment roll it out into a thin circle. The circle should be larger than your pie plate and should be enough to cover the base of the pie pan and also come to the top. I measured about 12 inches on all sides and rolled it out. Alternatively, you could also flour the surface and roll it without the parchment.
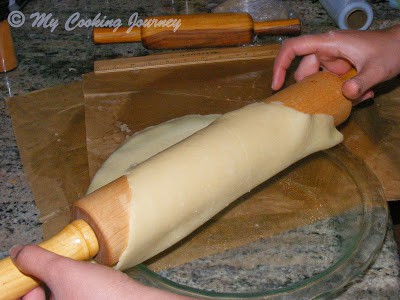
- Now slowly wrap the rolled-out dough onto the rolling pin and lay it on the pie pan. Make sure that you press down the dough on the pie pan to cover the entire pan and you should have the dough hanging in the top.
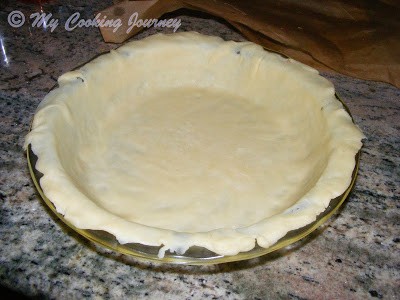
- Now fill the pan with the apple mixture.
- Roll out the other half of the dough the exact same way and lay it on top of the apples.
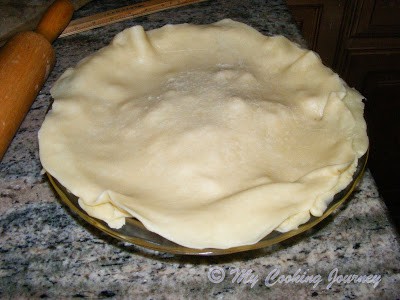
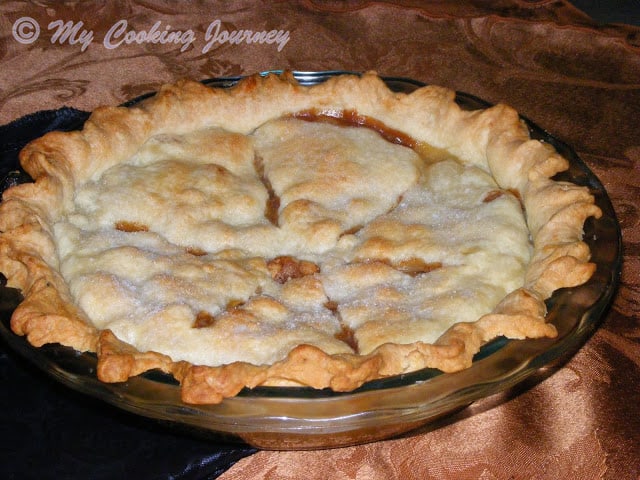
- Pinch the seams of the dough attaching the bottom layer and top layer. At this stage, you could also make some decorative trims to the pie. I used my thumb as the guideline and pinched dough at equal intervals to get a pattern.
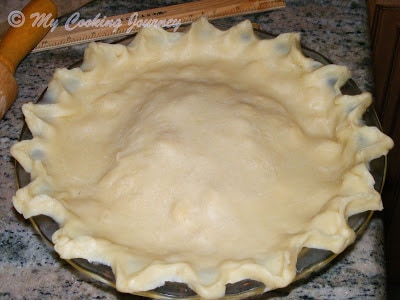
- Now make steam vents on the top layer. Make sure to vent it out to prevent any accidents in the oven. You could also get creative here and make patterns.
- Brush the top of the pie with milk and sprinkle the granulated sugar.
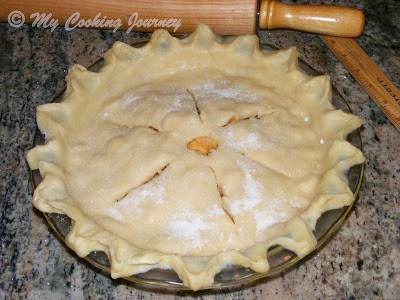
- Bake in a preheated 375 F oven for about 50-60 mins. Mine took about 55 minutes to form a golden brown crust and a bubbling filling. I also covered the edges of the crust with aluminum foil halfway through the baking process to prevent over-browning.
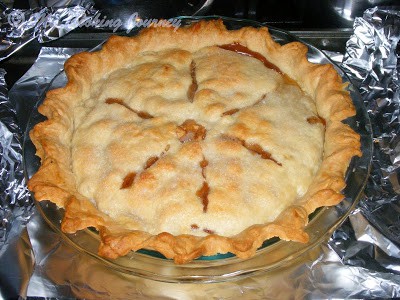
- Transfer the pie pan onto a cooling rack and let it cool entirely before slicing.
Notes and observations –
- Adjust the flour quantity in the filling based on the kind of apple you are using. If using Granny Smith or any other less juicier firm variety use about 1 tbsp. For the juicier variety of apples, use about 3 tbsp.
- Make sure to seal the edges of the pie well. This will avoid any leaking of the juices in between the pie and the pan.
- Remember to vent the top of the pie for steam to escape.
- You might have to cover the rim/edges of the pie with an aluminum foil halfway into the baking to prevent the crust from overbrowning.
- Allow the pie to cool entirely before slicing. The filling is still juicier when warm and it thickens as the pie cools.
More Apple Recipes
If you made this recipe and liked it, give a star rating on the recipe card or let me know in the comments below. You could also share it with me on Instagram using #MyCookingJourney and tagging me @sandhya.ramakrishnan. You could follow me and my recipes on Facebook |Instagram | Pinterest | Twitter/X
Recipe
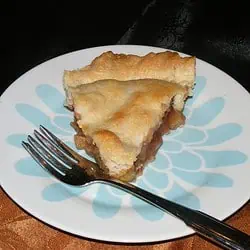
Apple Pie | Old Fashioned Traditional Apple Pie Recipe
Equipment
- Large Bowl
- Pastry Blender
- Pie Pan
- Rolling Pin
- Oven
Ingredients
For The Crust
- 1 ¾ cup All-purpose flour 245 g
- ¼ teaspoon Salt 2 g
- 1 tablespoon Sugar 15 g
- ¾ cup Chilled butter 157 g
- 3 tablespoon Ice cold water 3-5 tbsp
For The Filling
- 4 Apples large
- 1 tablespoon Lemon juice
- 3 tablespoon Brown sugar
- 3 tablespoon White sugar
- 1 teaspoon Cinnamon
- ¼ teaspoon Ground ginger
- ¼ teaspoon Nutmeg
- ¼ teaspoon Allspice
- ⅛ teaspoon Salt
- 1 tablespoon Corn Starch or all-purpose flour – 1 tablespoon – 3 tablespoon depending on the kind of apple
- 1 tablespoon Butter
To Make The Top Glaze/Wash
- 2 tablespoon Milk
- 1 tablespoon Granulated sugar
Instructions
To Make The Crust
- In a large bowl, mix the all-purpose flour, sugar and salt. To this add small bits of chilled butter. I weighed both my flour and butter instead of measuring it.
- Mixing All purpose flour with butter
- Using a pastry blender or a fork, work the flour and the butter until it starts resembling crumbs.
- Mixing the flour butter mixture to resemble crumbs
- Now slowly add about a tablespoon at a time of ice-cold water into the mixture and make dough. I needed about 3 tablespoon of water to make my dough. Depending upon your dough consistency carefully add one tablespoon of water at a time and form a soft dough.
- Divide the dough into 2 equal parts and wrap it in plastic wrap. Refrigerate the dough for about an hour. At this stage, you could also freeze the dough for about a month.
Make The Filling
- Peel, core, and cut the apples into small pieces. To this add the rest of the ingredients (except the butter) and mix well. Depending upon the kind of apple, use either 1 tablespoon or more of flour. I used about 3 tablespoon of flour for my filling and it was perfect. Leave this mixture aside for about an hour.
- At the end of the hour, you will notice that the apples have let out moisture. Collect this in a bowl, add the 1 tablespoon butter, and microwave on high for 2 minutes. The liquid would have been reduced by this process and would appear syrupy.
- Pour this syrup back into the apple mixture and mix.
Assembly
- Take one of the dough out and in between two layers of parchment roll it out into a thin circle. The circle should be larger than your pie plate and should be enough to cover the base of the pie pan and also come to the top. I measured about 12 inches on all sides and rolled it out. Alternatively, you could also flour the surface and roll it without the parchment.
- Now slowly wrap the rolled-out dough onto the rolling pin and lay it on the pie pan. Make sure that you press down the dough on the pie pan to cover the entire pan and you should have the dough hanging in the top.
- Now fill the pan with the apple mixture.
- Roll out the other half of the dough the exact same way and lay it on top of the apples.
- Pinch the seams of the dough attaching the bottom layer and top layer. At this stage, you could also make some decorative trims to the pie. I used my thumb as the guideline and pinched dough at equal intervals to get a pattern.
- Now make steam vents on the top layer. Make sure to vent it out to prevent any accidents in the oven. You could also get creative here and make patterns.
- Brush the top of the pie with milk and sprinkle the granulated sugar.
- Bake in a preheated 375 F oven for about 50-60 mins. Mine took about 55 minutes to form a golden brown crust and a bubbling filling. I also covered the edges of the crust with aluminum foil halfway through the baking process to prevent over-browning.
- Baking the apple pie
- Transfer the pie pan onto a cooling rack and let it cool entirely before slicing.
Notes and observations
- Adjust the flour quantity in the filling based on the kind of apple you are using. If using Granny Smith or any other less juicier firm variety use about 1 tbsp. For the juicier variety of apples, use about 3 tbsp.
- Make sure to seal the edges of the pie well. This will avoid any leaking of the juices in between the pie and the pan.
- Remember to vent the top of the pie for steam to escape.
- You might have to cover the rim/edges of the pie with an aluminum foil halfway into the baking to prevent the crust from overbrowning.
- Allow the pie to cool entirely before slicing. The filling is still juicier when warm and it thickens as the pie cools.



Chef Mireille says
nothing more American than that..you did it beautifully
sushma says
Looks delicious. My son loves this
Pavani N says
I am still scared to make a pie. I never understood the saying 'easy as a pie' because it seems so tedious to me 🙂 Also I'm not a big apple or apple pie fan. But you have tempted me to make a make and dare I say try apple pie. I will hopefully try this soon.
Shree Rao says
Loved your step by step instructions.. I want to do this one now... 🙂
Rajani S says
You have really shared every single detail Sandhya! A job very well done!!
Harini-Jaya R says
Oh man! It looks so professionally done!
Arthy shama says
Yes, I remember this as Baking partner challenge, apple pie looks delicious sandhya 🙂
Sapana Behl says
Very well made pie ! Looks so yum....