Idli | Fermented Rice Cake - Vegan And Gluten Free
Idli, also called Idly, is the most staple breakfast of South India. There is no household in Southern India that does not grind the idli batter routinely at their house. This fermented rice cake is a very staple breakfast and also a great dinner option.
My husband loves idli but me not as much. I am guilty of not making this often for him. Being a food blogger, it is hard to have idly batter in the refrigerator and think of cooking something else. The mind just wants to take the easy way out and use the idli batter in the refrigerator.
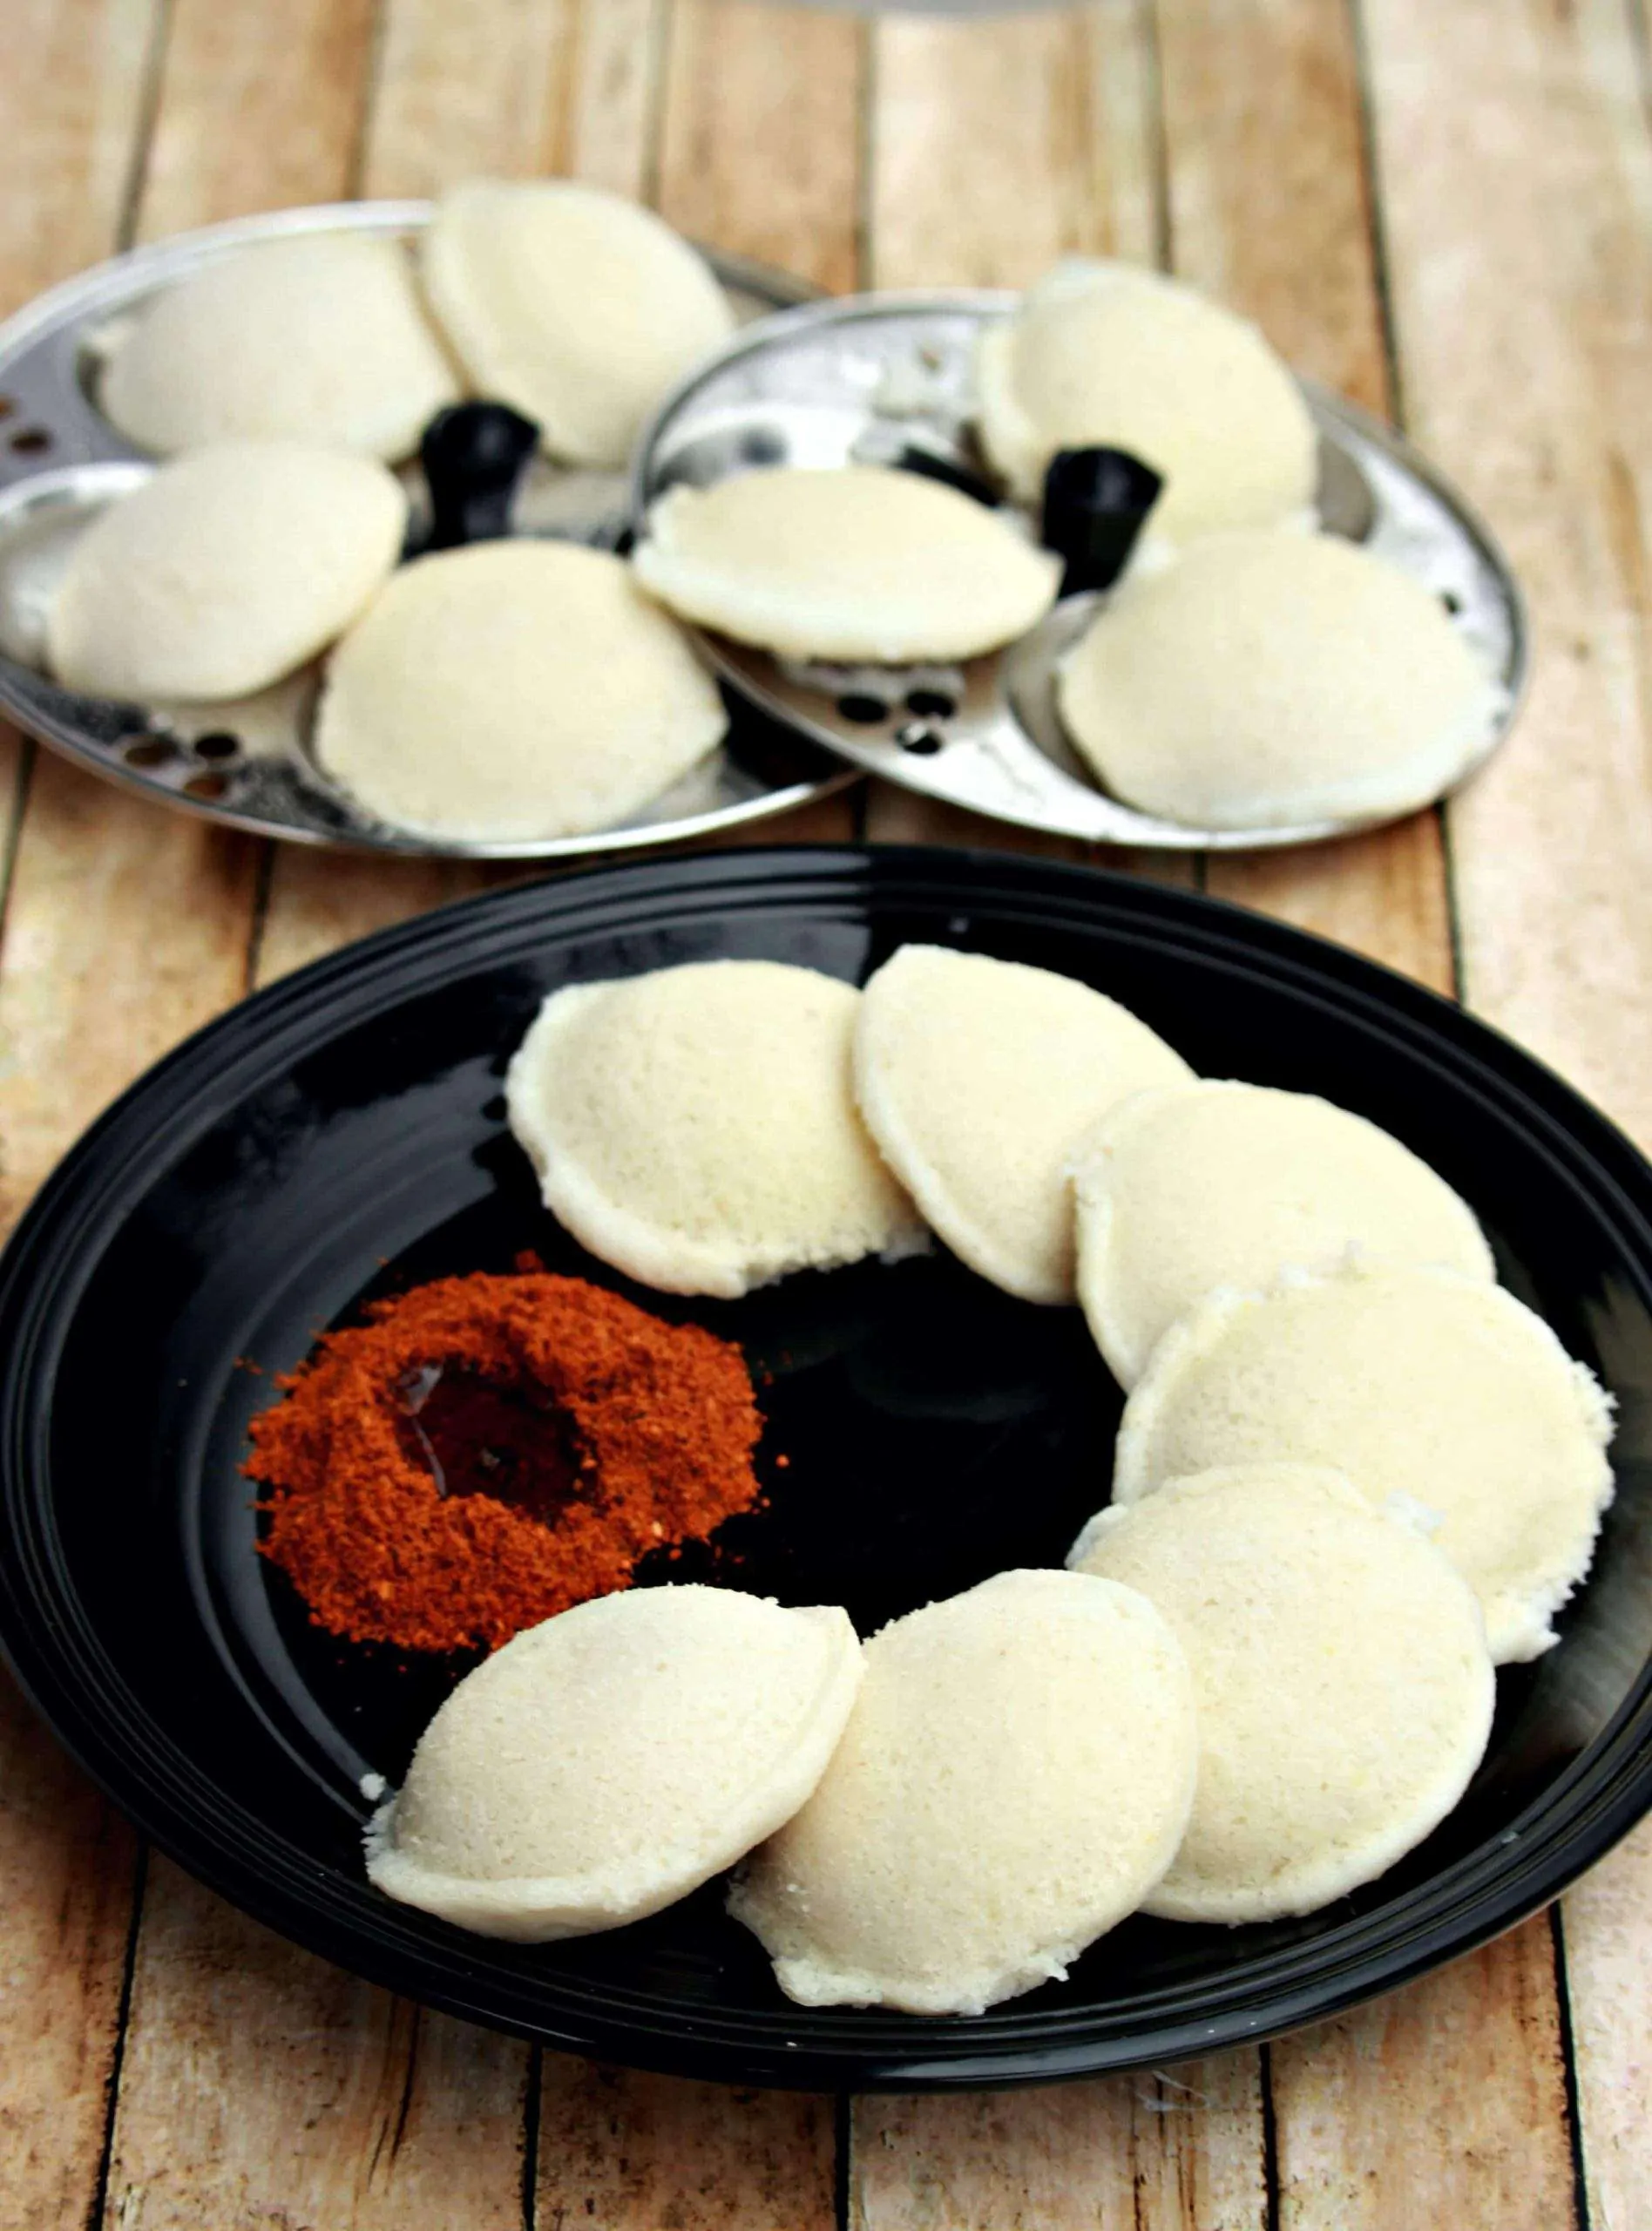
The idli batter is no rocket science to grind. It does take a little bit of experience from trial and error to see what kind of batter consistency works well and how much fermentation time is important.
I can write as much as I want about all the techniques, but it does not mean it will work the same way. What works for me may not work too well for you, but these general steps should help you to make your own Idly batter.
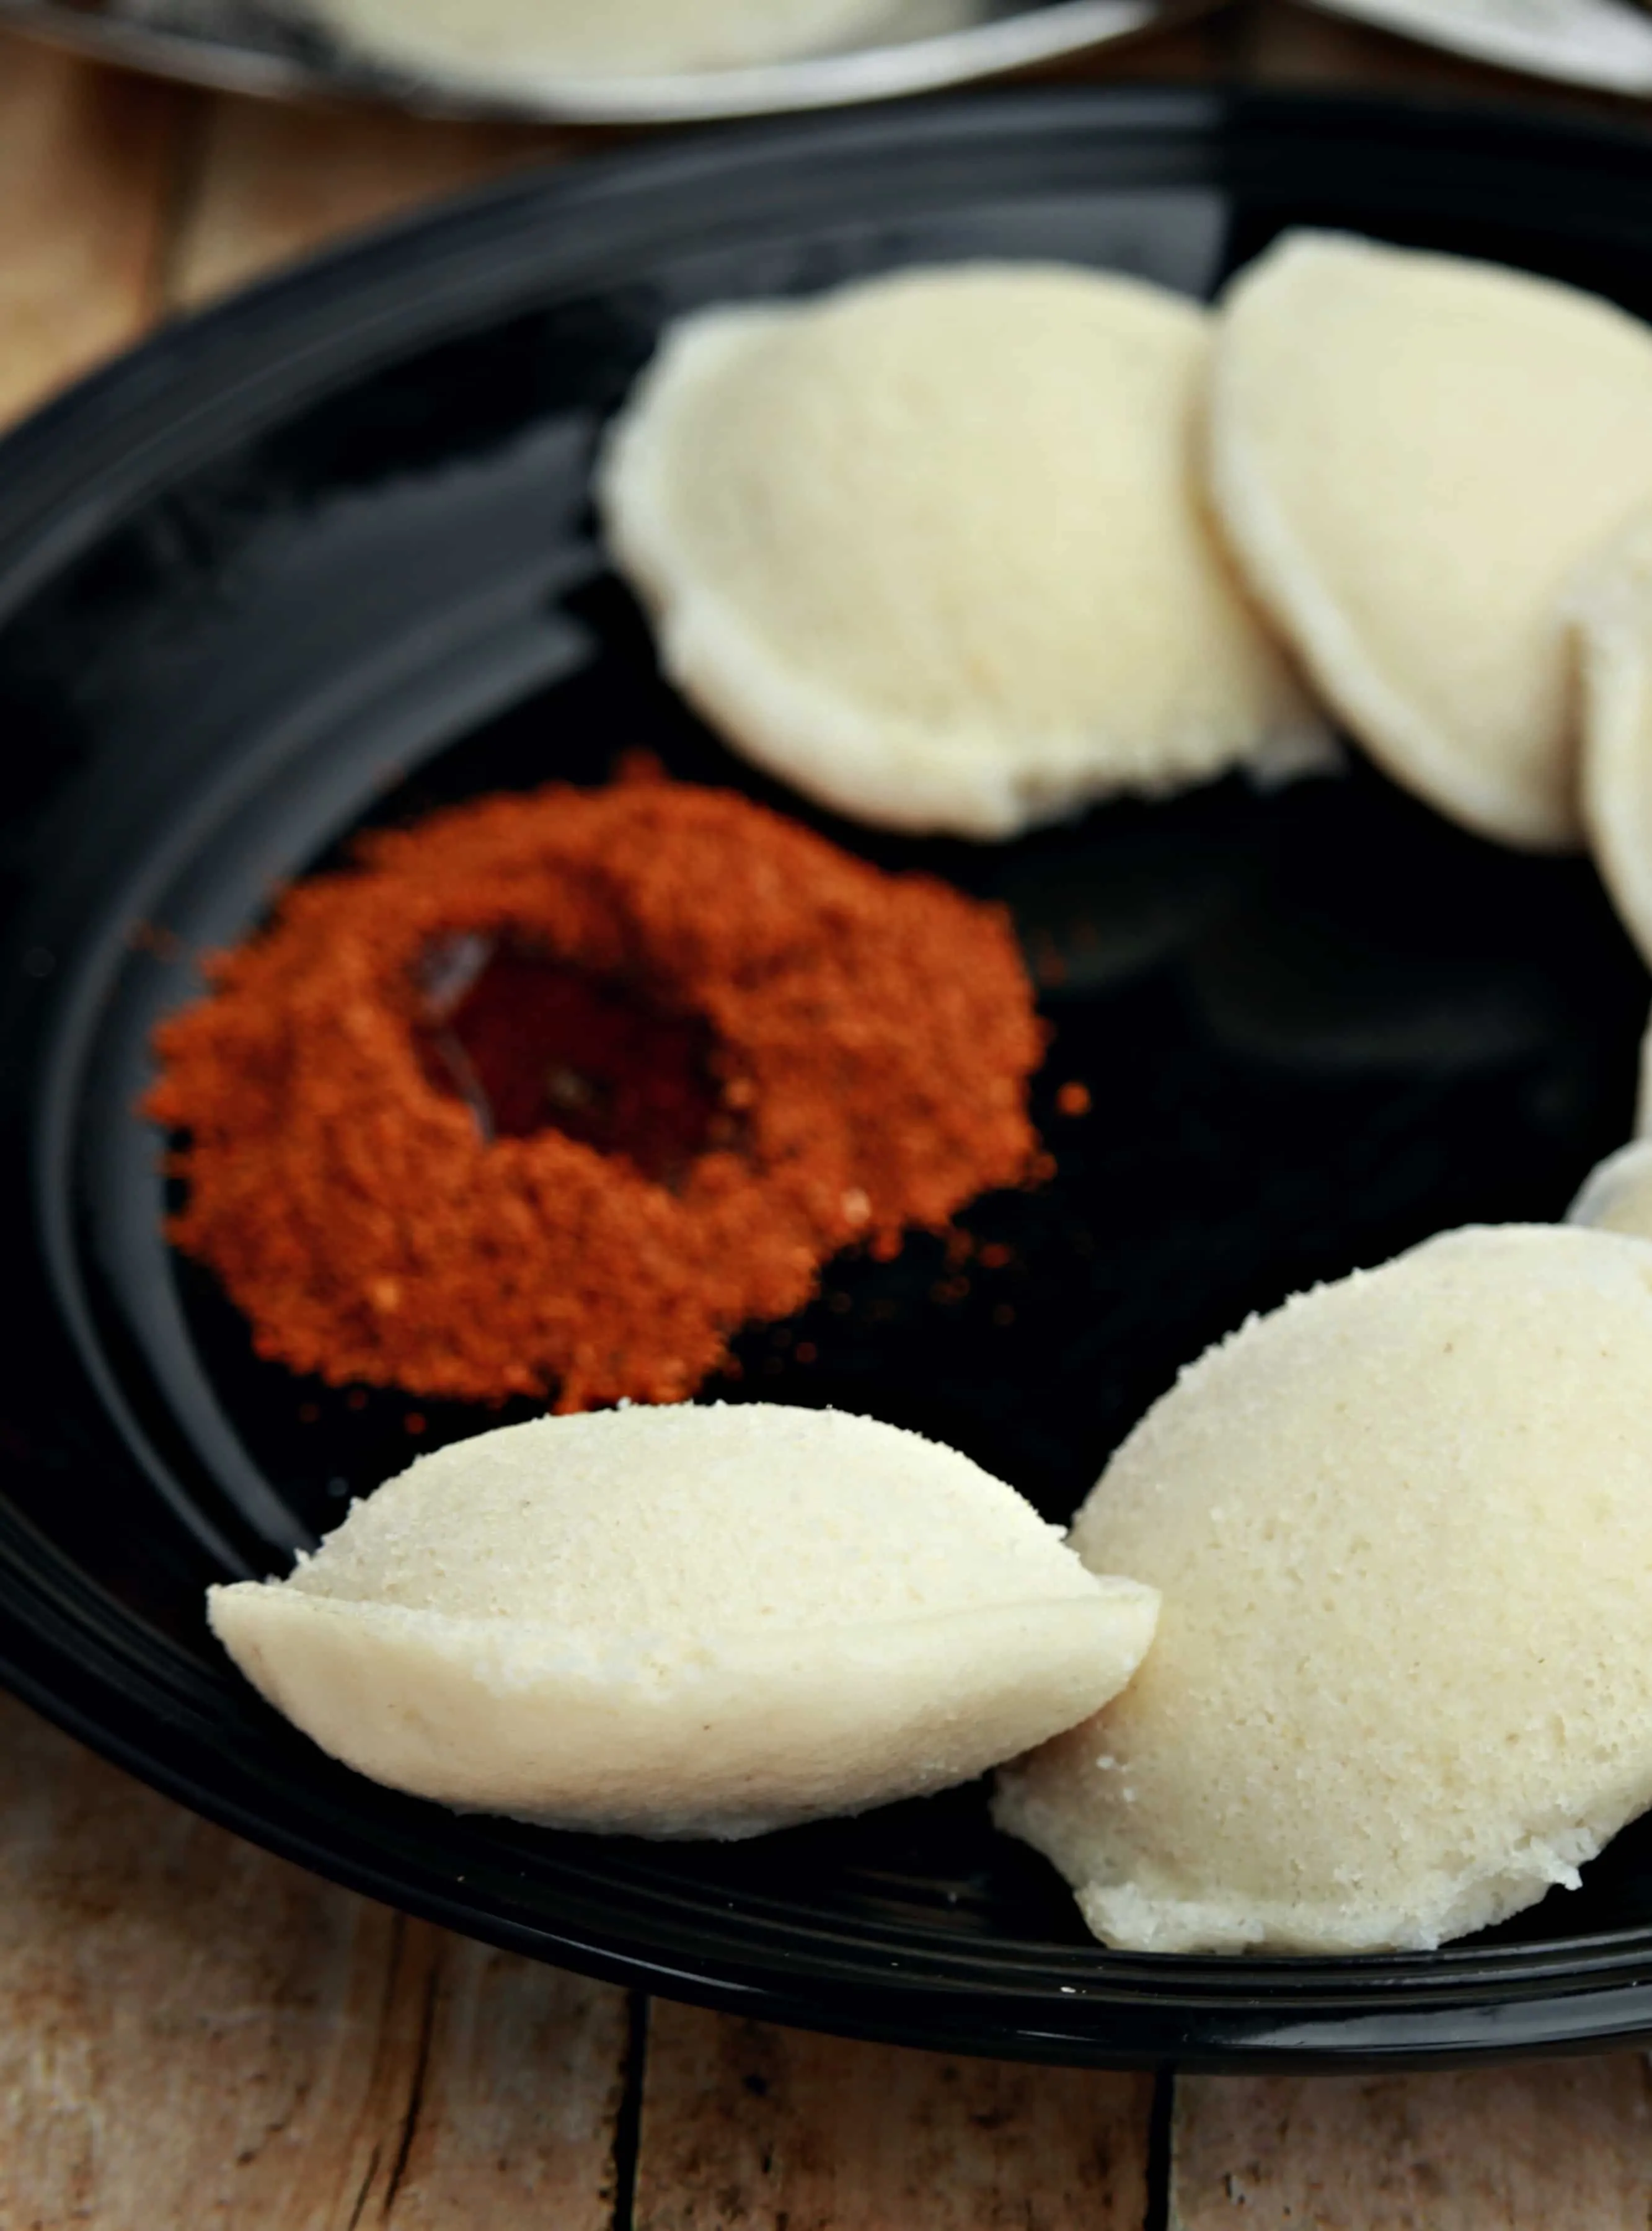
Idli is a safe bet when eating out during traveling. It is completely vegan and gluten-free and since it is steamed, makes it very easy to digest. Idly is also one of the safest beginner solid food for kids. It is gentle on their stomach and also quite filling. It pairs really well with any chutney or sambhar. Our favorite though is to eat it with milagai podi. Idli slathered with milagai podi is my husband's favorite travel food.
Use good quality Idli rice and Urad dal / ullutham paruppu. I use skinned whole urad dal as it gives a great texture to the batter. The better the quality of the ingredients, the softer the idlis are.
This batter for fermented rice cake can also be used to make dosai. I always make idli 2 or 3 times and the rest of the batter is used to make dosai or kuzhi paniyaram.
My Other Posts in the A - Z Explore the Flavors Series
B for Baghrir with Orange Butter Sauce
Preparation time - 30 minutes plus about 8 hours of soaking time and 12 hours of fermenting time
Cooking time - about 10 minutes
Difficulty level - Intermediate
Ingredients to make Idli - Makes about 70 to 80
- Idli Rice - 4 cups
- Urad dal / Ullutham Paruppu - 1 cup (I use whole urad)
- Fenugreek seeds / Vendhayam - 1 tbsp
- Salt - to taste
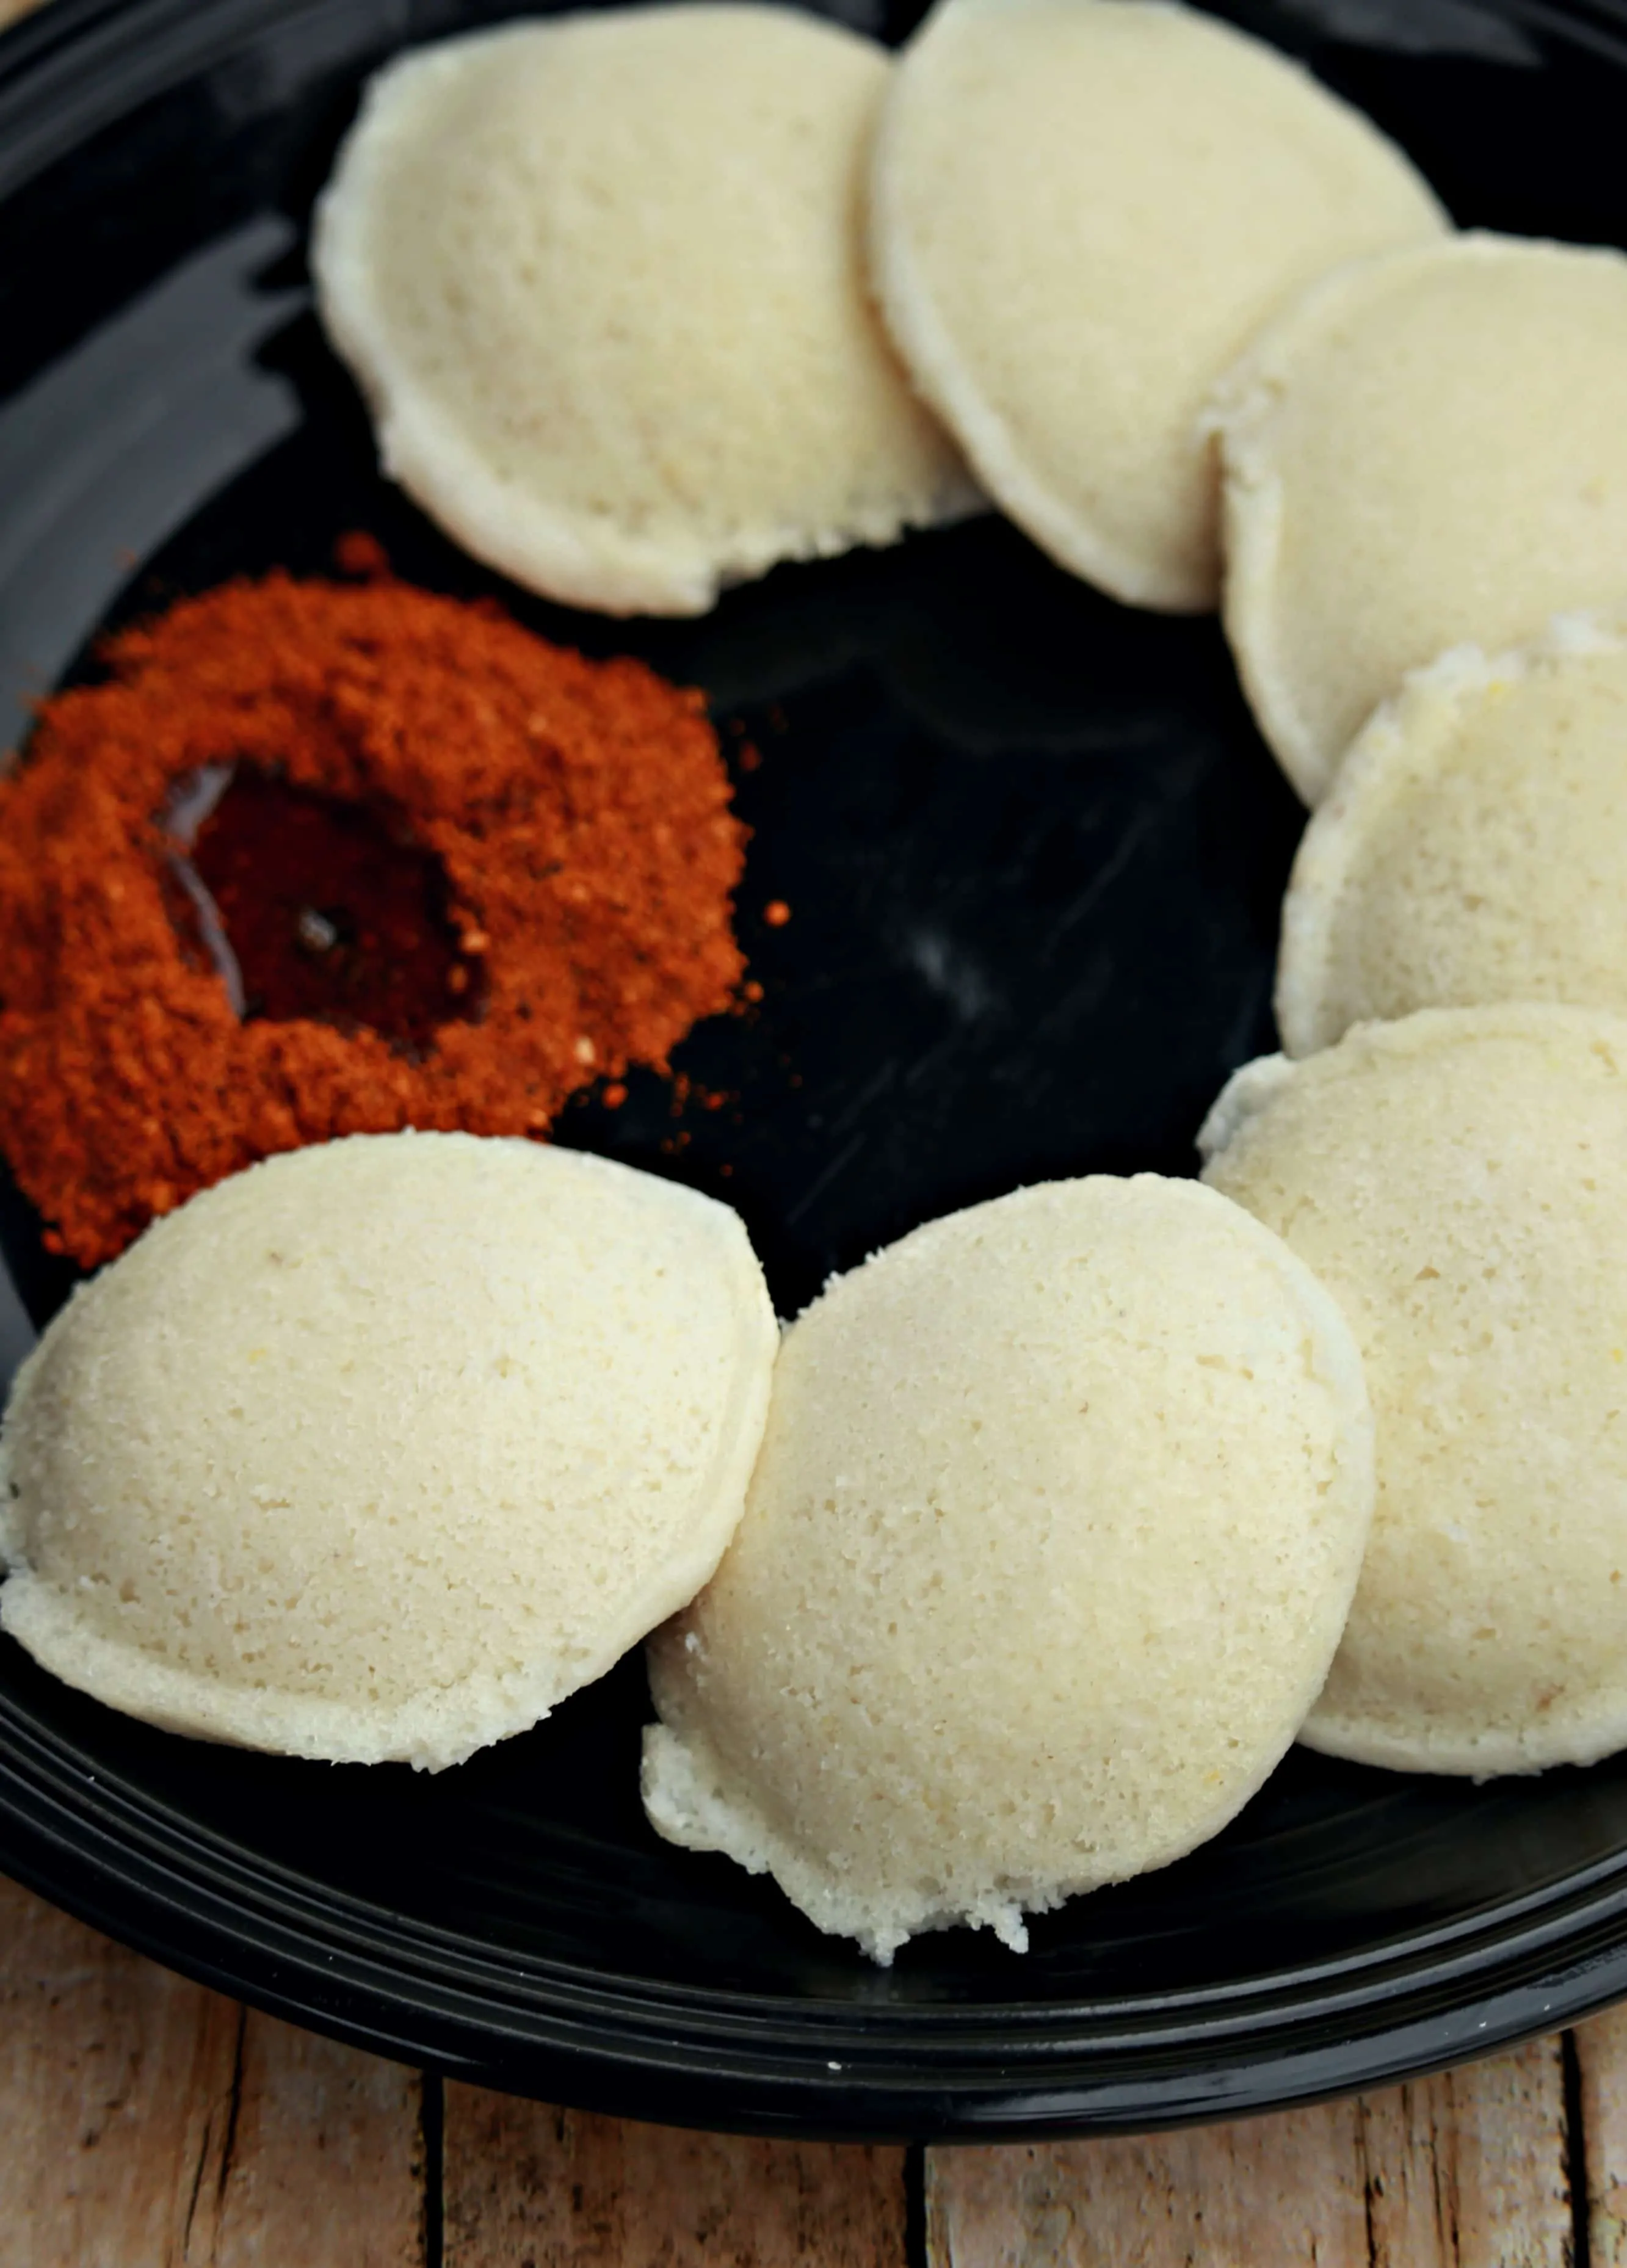
Procedure to make Fermented Rice Cake -
To make the Idly Batter -
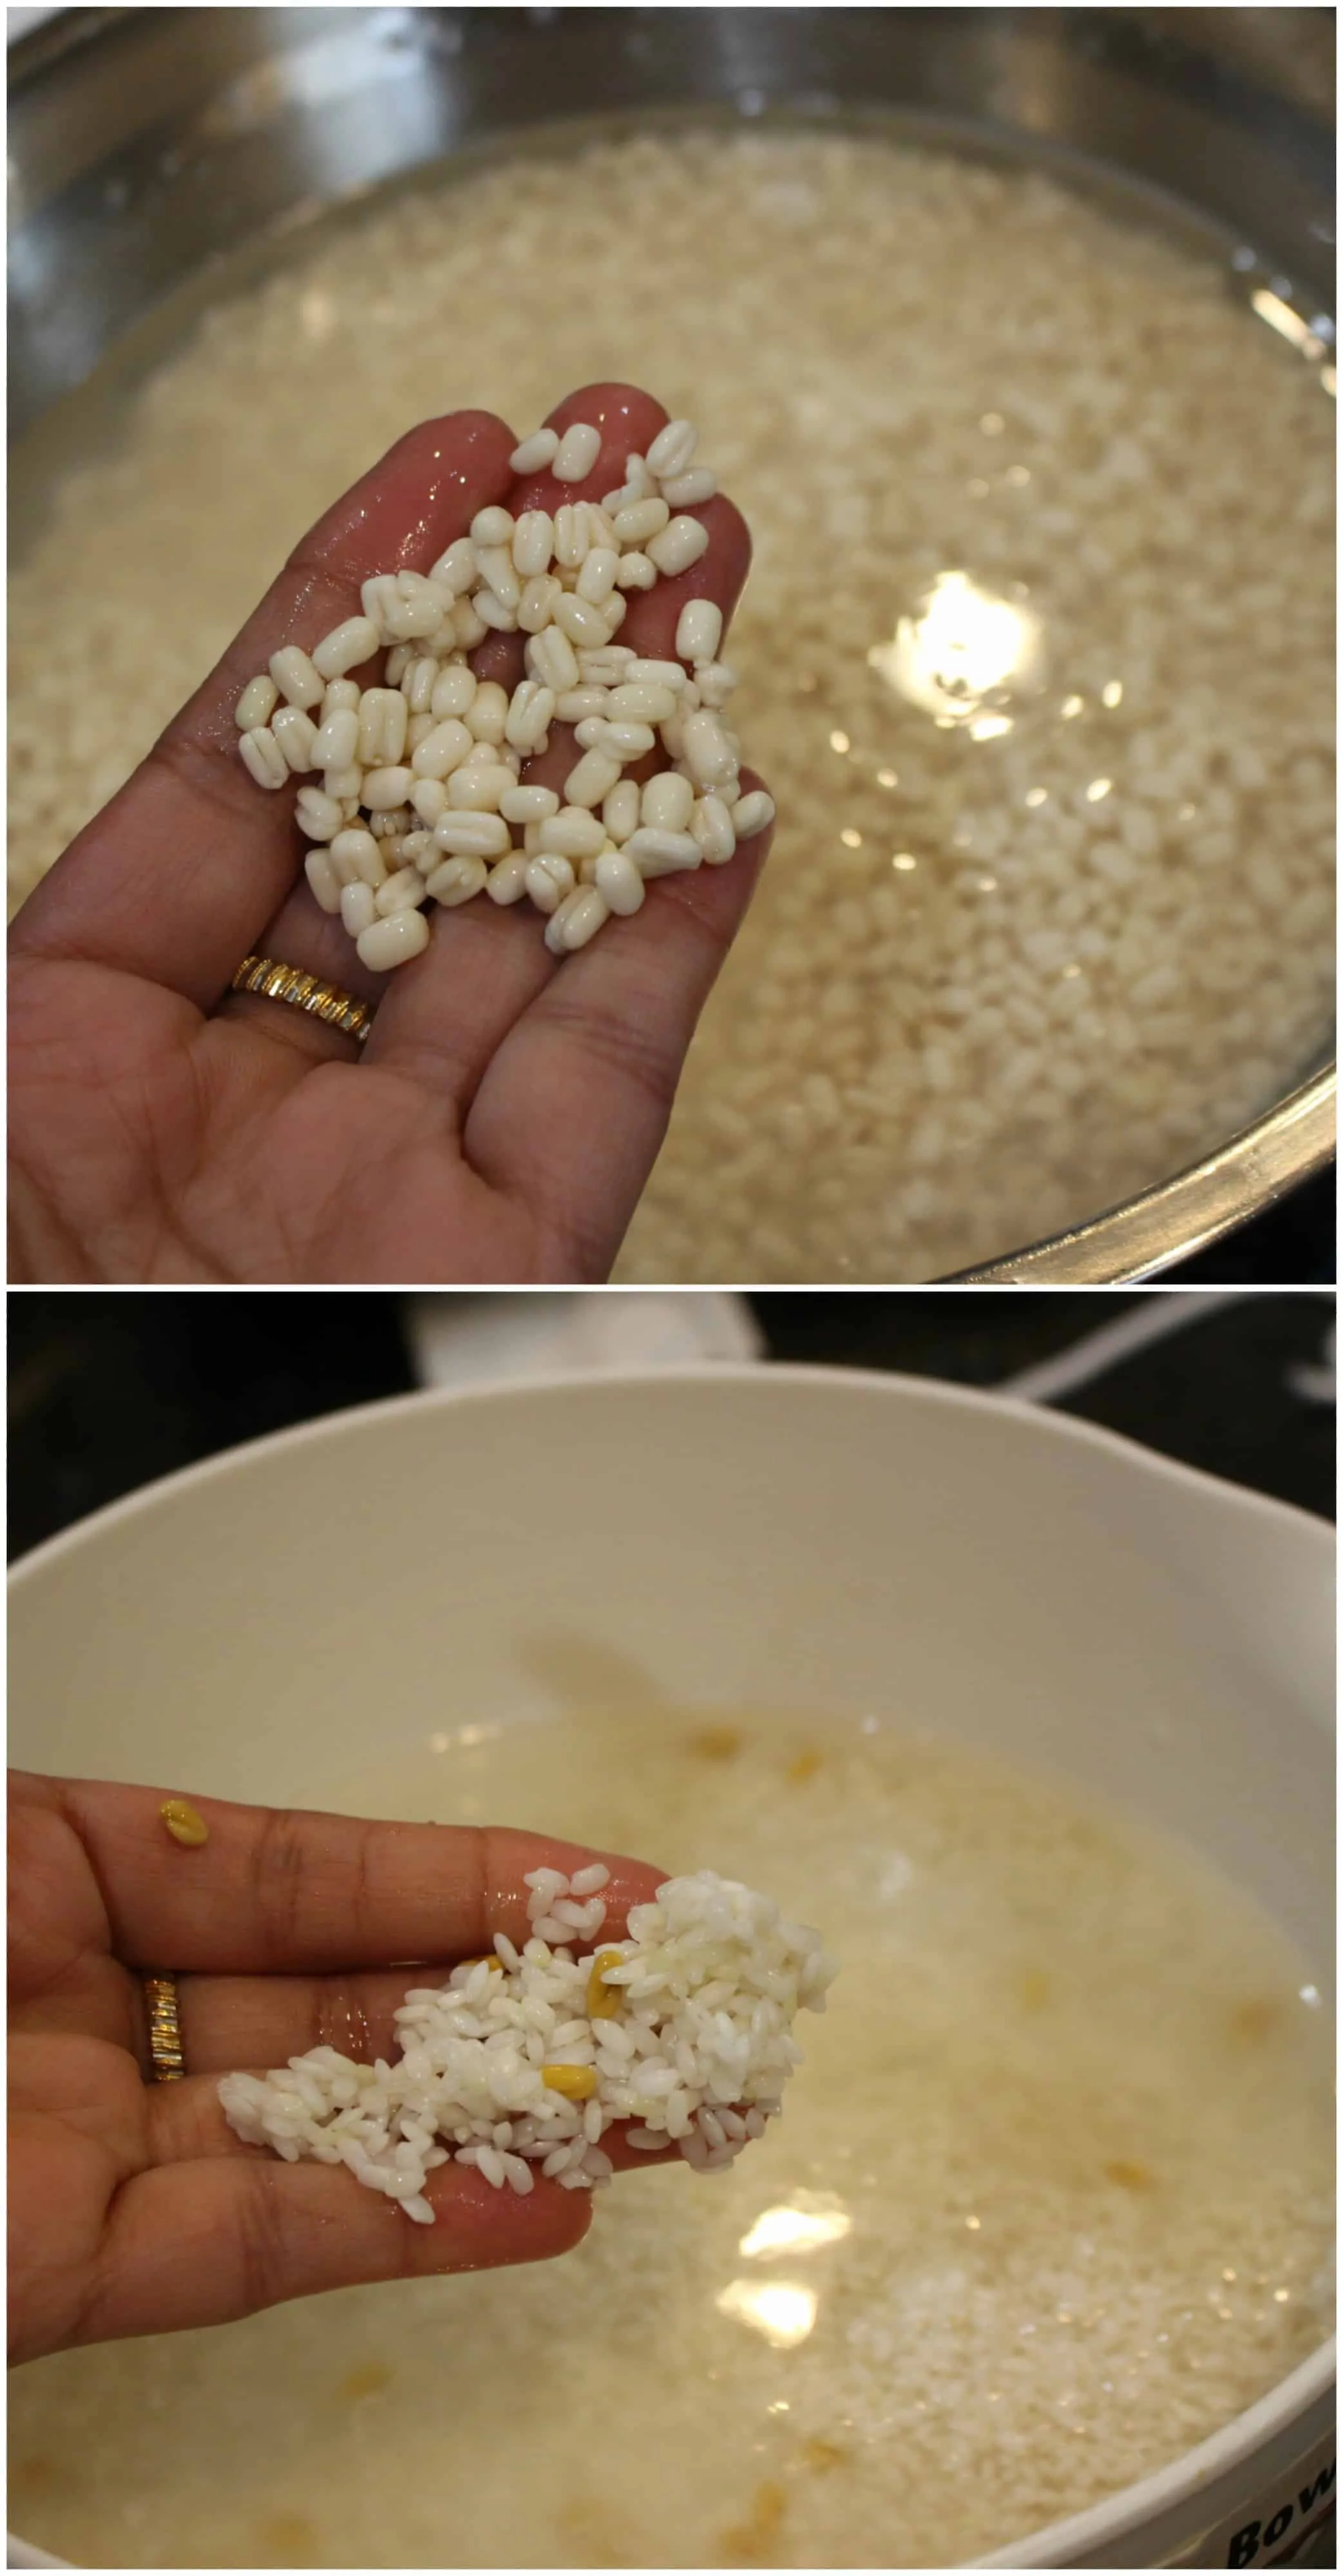
- Measure the Idli rice and Urad dal in two separate bowls. Wash them well under running water and soak it for 4 to 6 hours. Add the fenugreek seeds along with the rice when soaking. My mother used to soak the rice first and a couple of hours before grinding would soak the dal. I am very forgetful and hence I soak them both at the same time.
- Drain the water and then grind the ullutham paruppu first in a wet grinder. We could grind it in the blender, but it heats up very fast and does not make the batter as fluffy as a wet grinder does.
- When grinding the ullutham paruppu, add water little by little. We want a stiff batter and also adding too much water in the beginning will not grind the dal as well as it should.
- It takes about 20 minutes for the ullutham paruppu to be completely ground and be fluffy and airy.
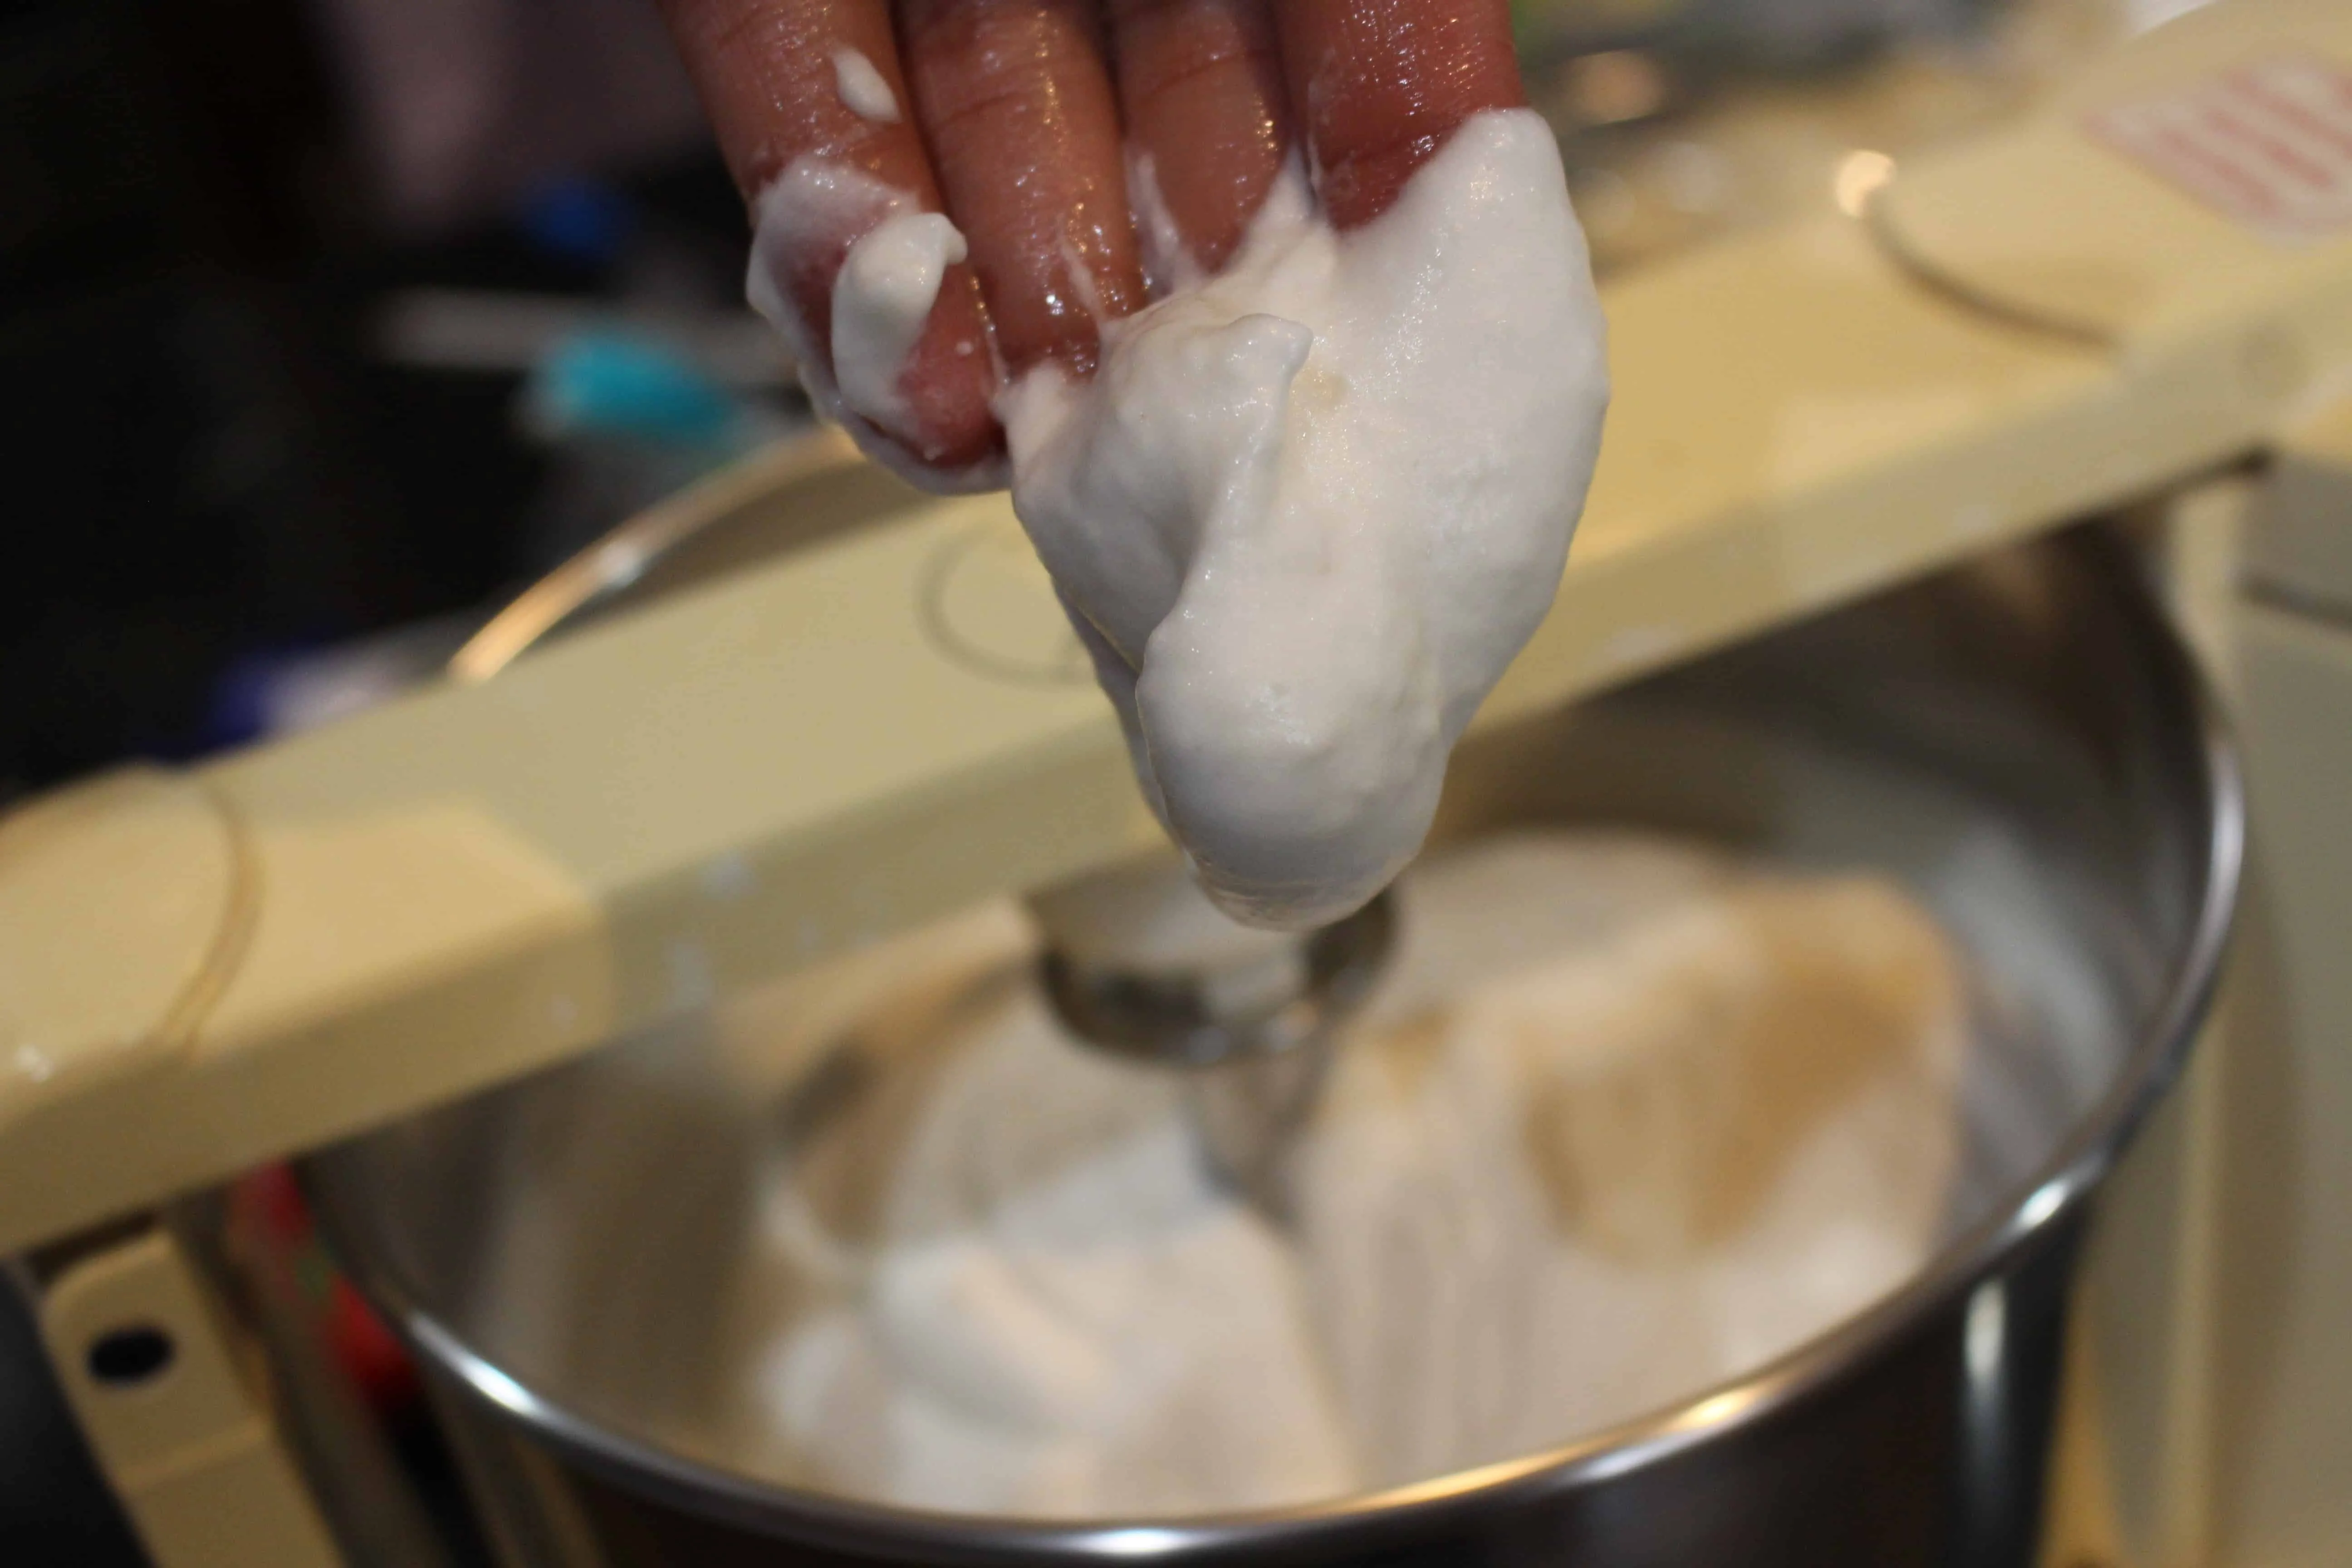
- Transfer this to a container and keep it covered.
- Now grind the rice adding just enough water. It will take about 15 minutes for the rice to be ground.
- Transfer the ground rice to the same container as the urad dal batter. Make sure the batter is in a container that is twice as big as the batter volume.
- Add the required salt and using your hands mix the batter well. Please note that use your hands to mix the batter. My mother always said that using your hands to mix incorporates some body heat to the batter and helps to ferment better.
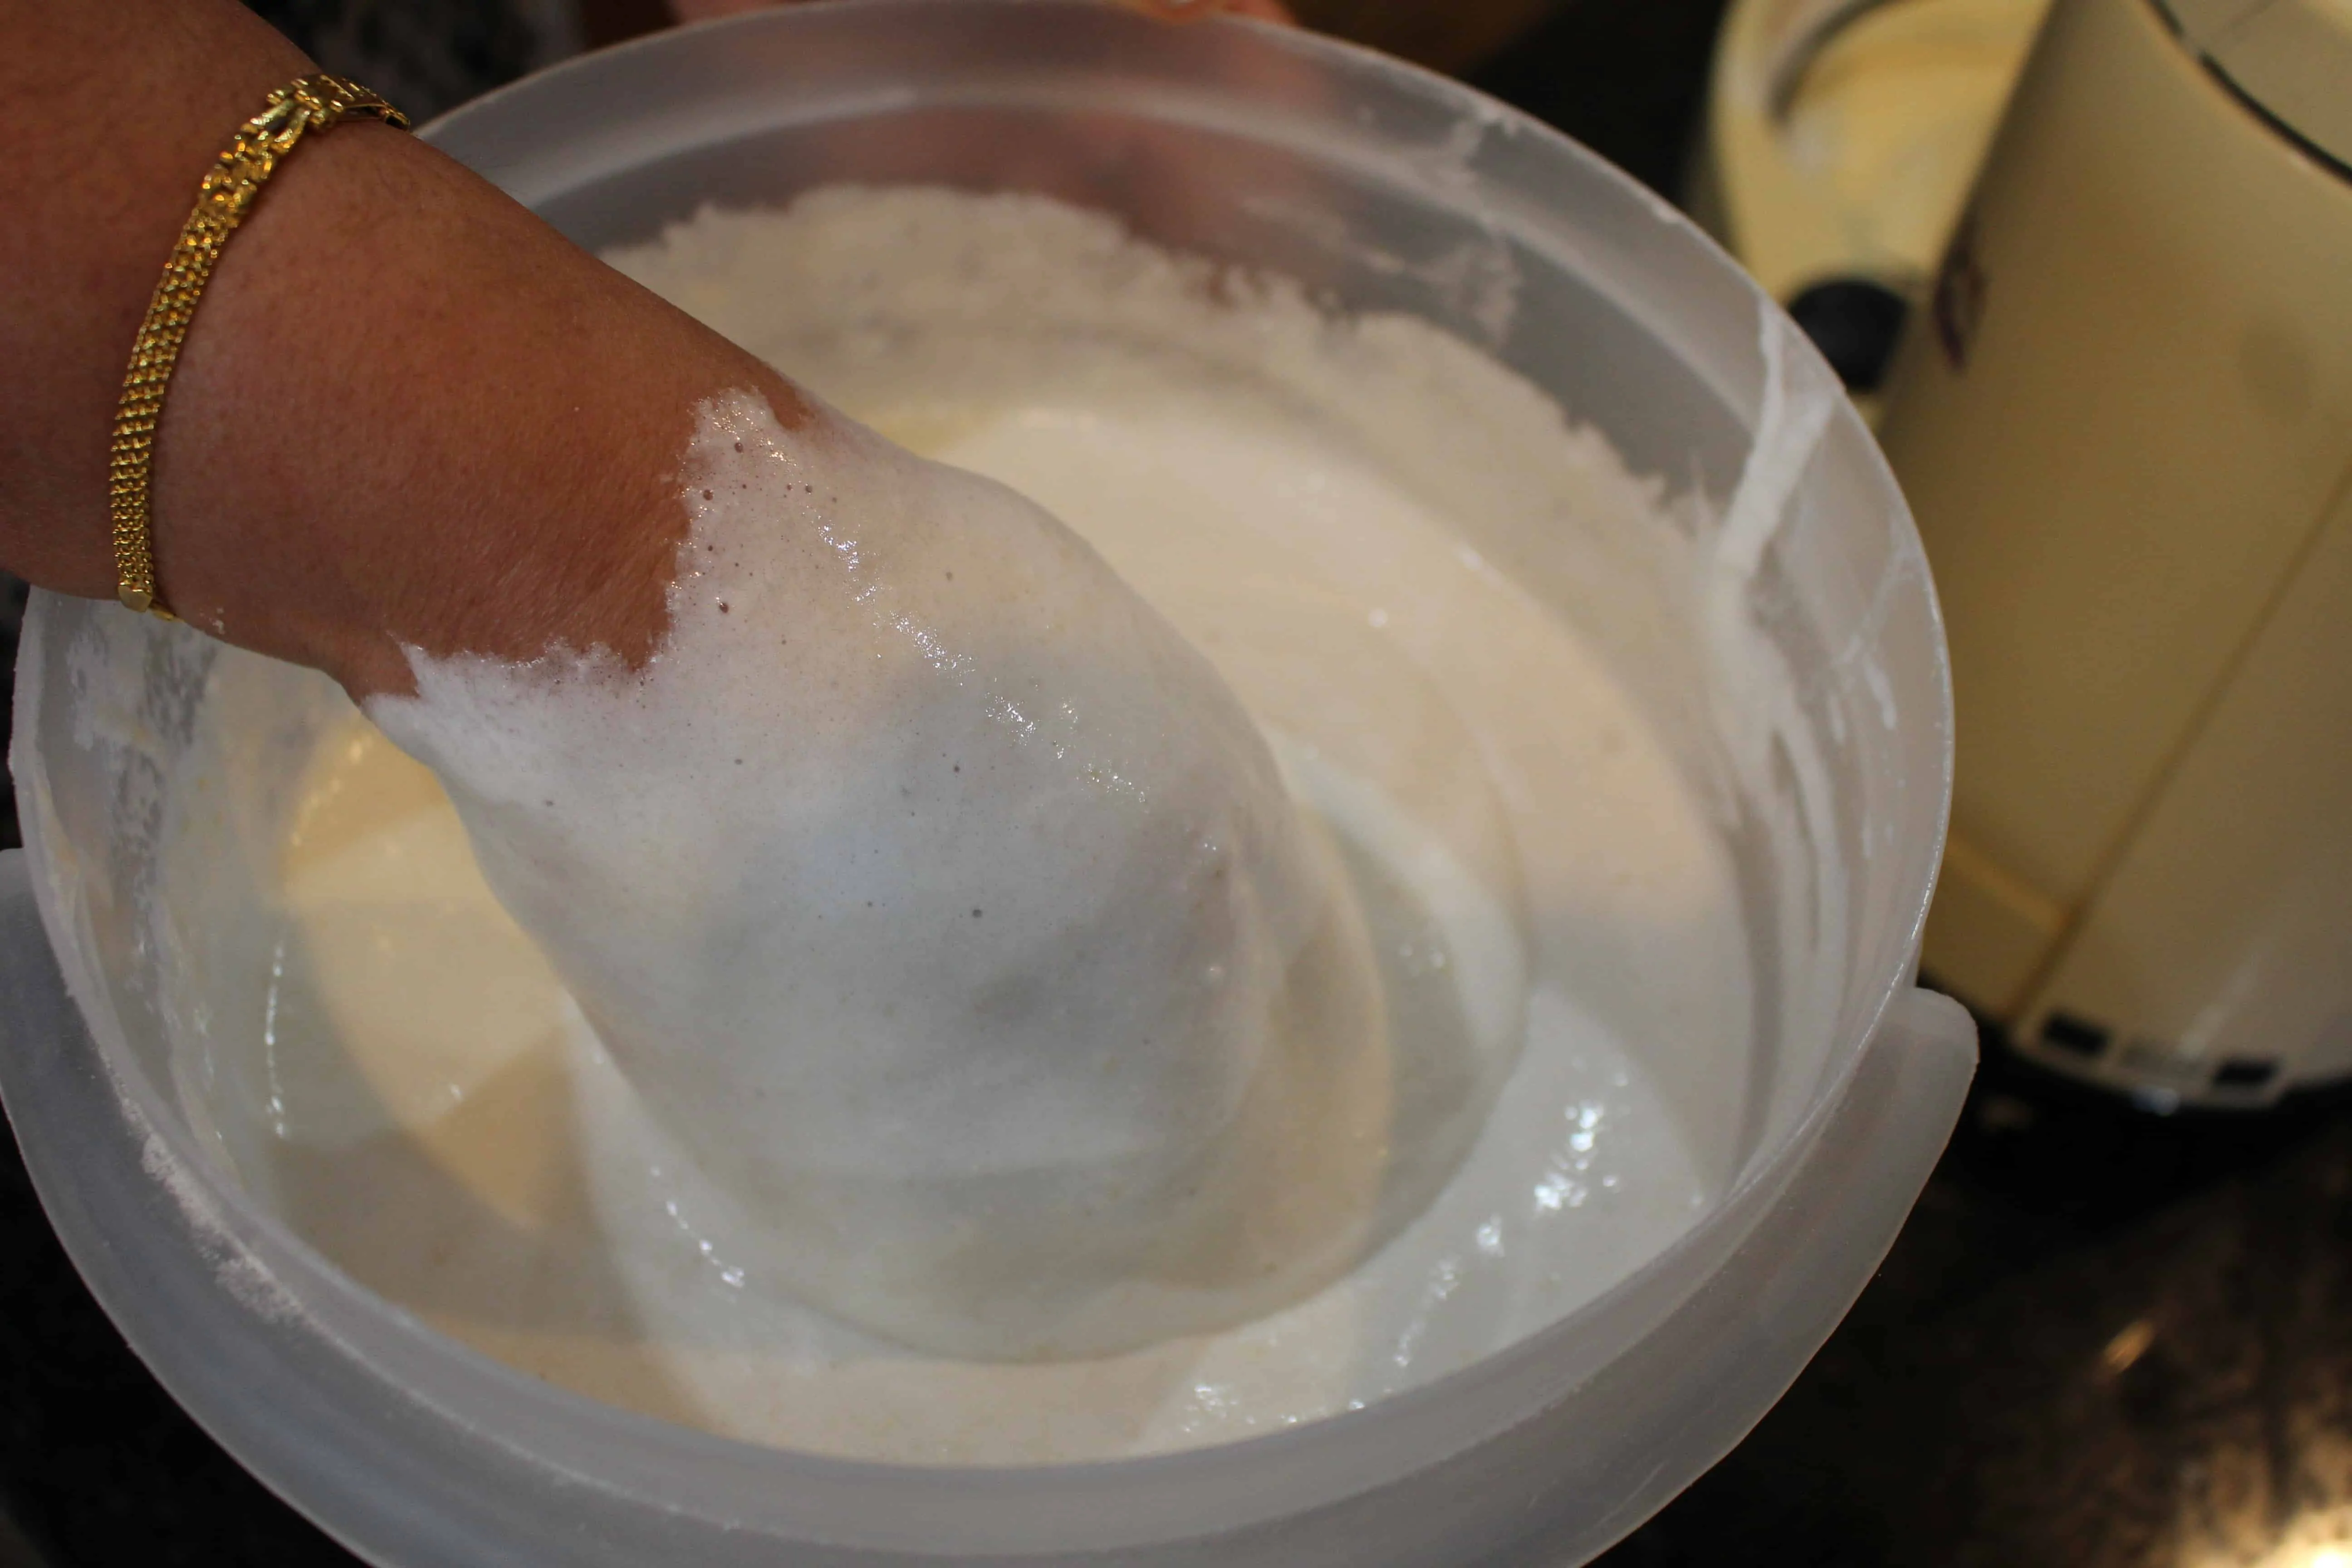
- Keep the batter in a warm, draft-free place for 8 to 12 hours. Depending on how warm the place is, it could take longer than 12 hours. For me, it takes anywhere from 18 to 24 hours.
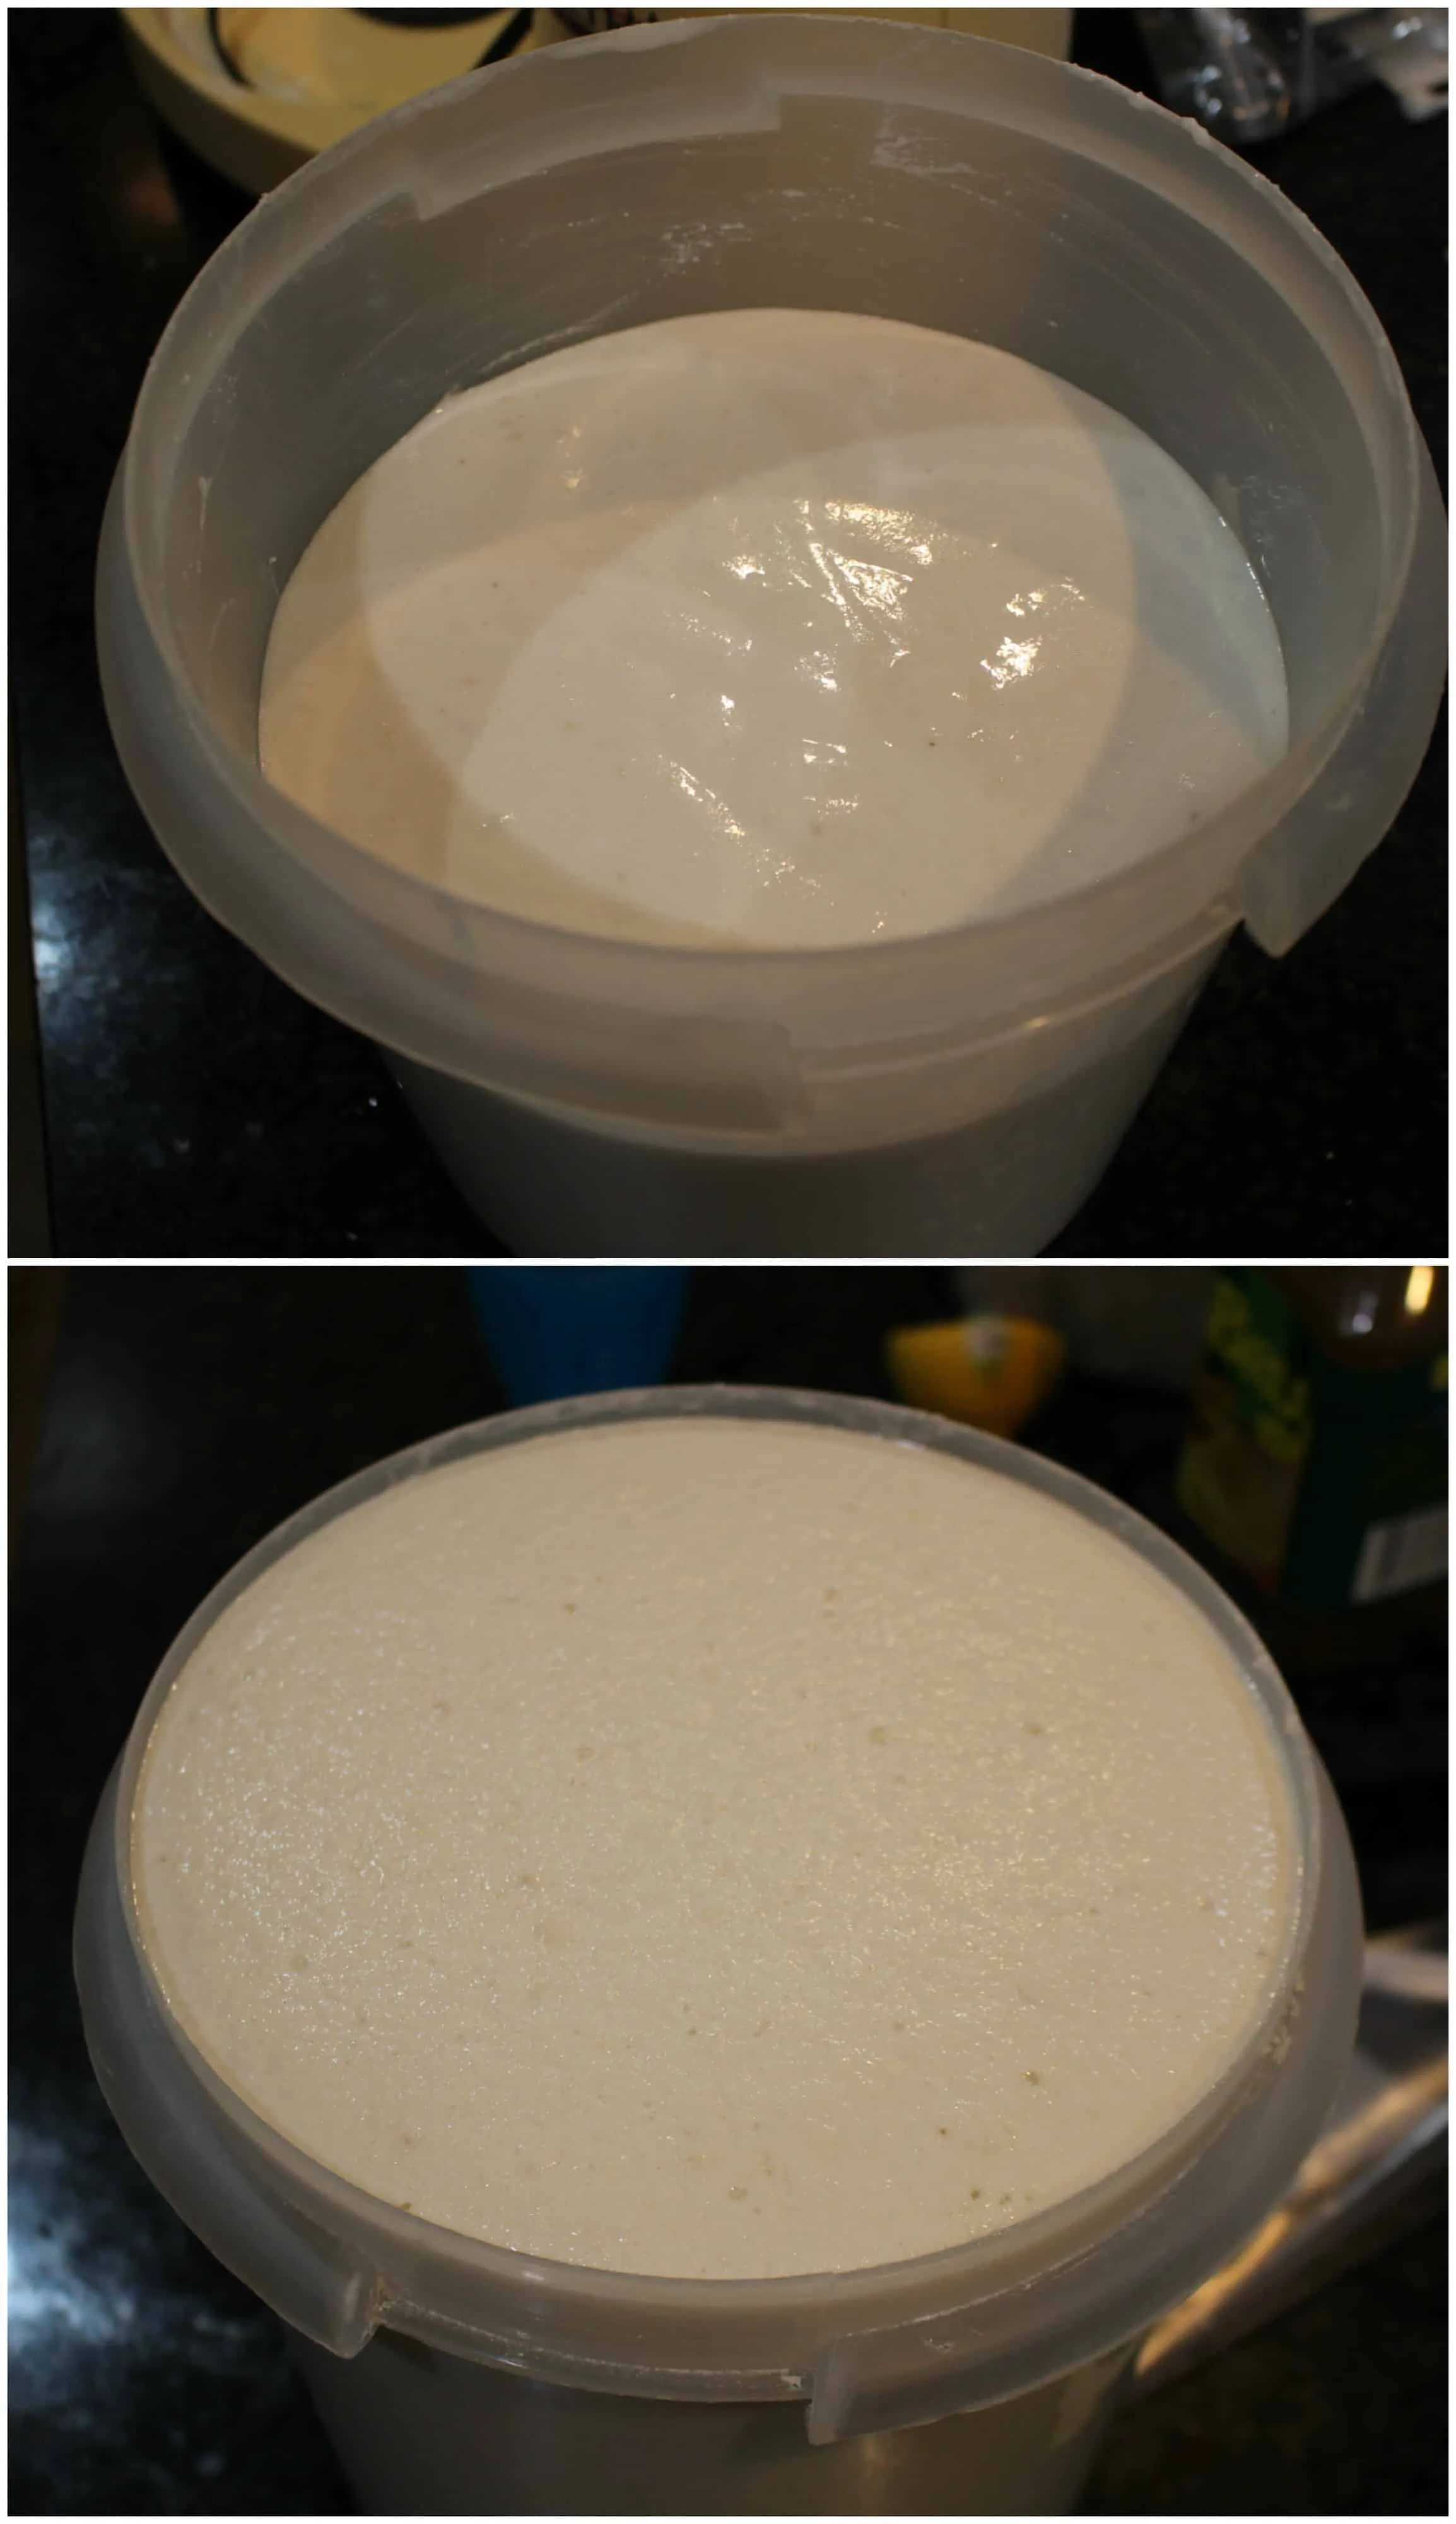
Making the Idli -
- Once the batter has fermented well, give it a gentle mix.
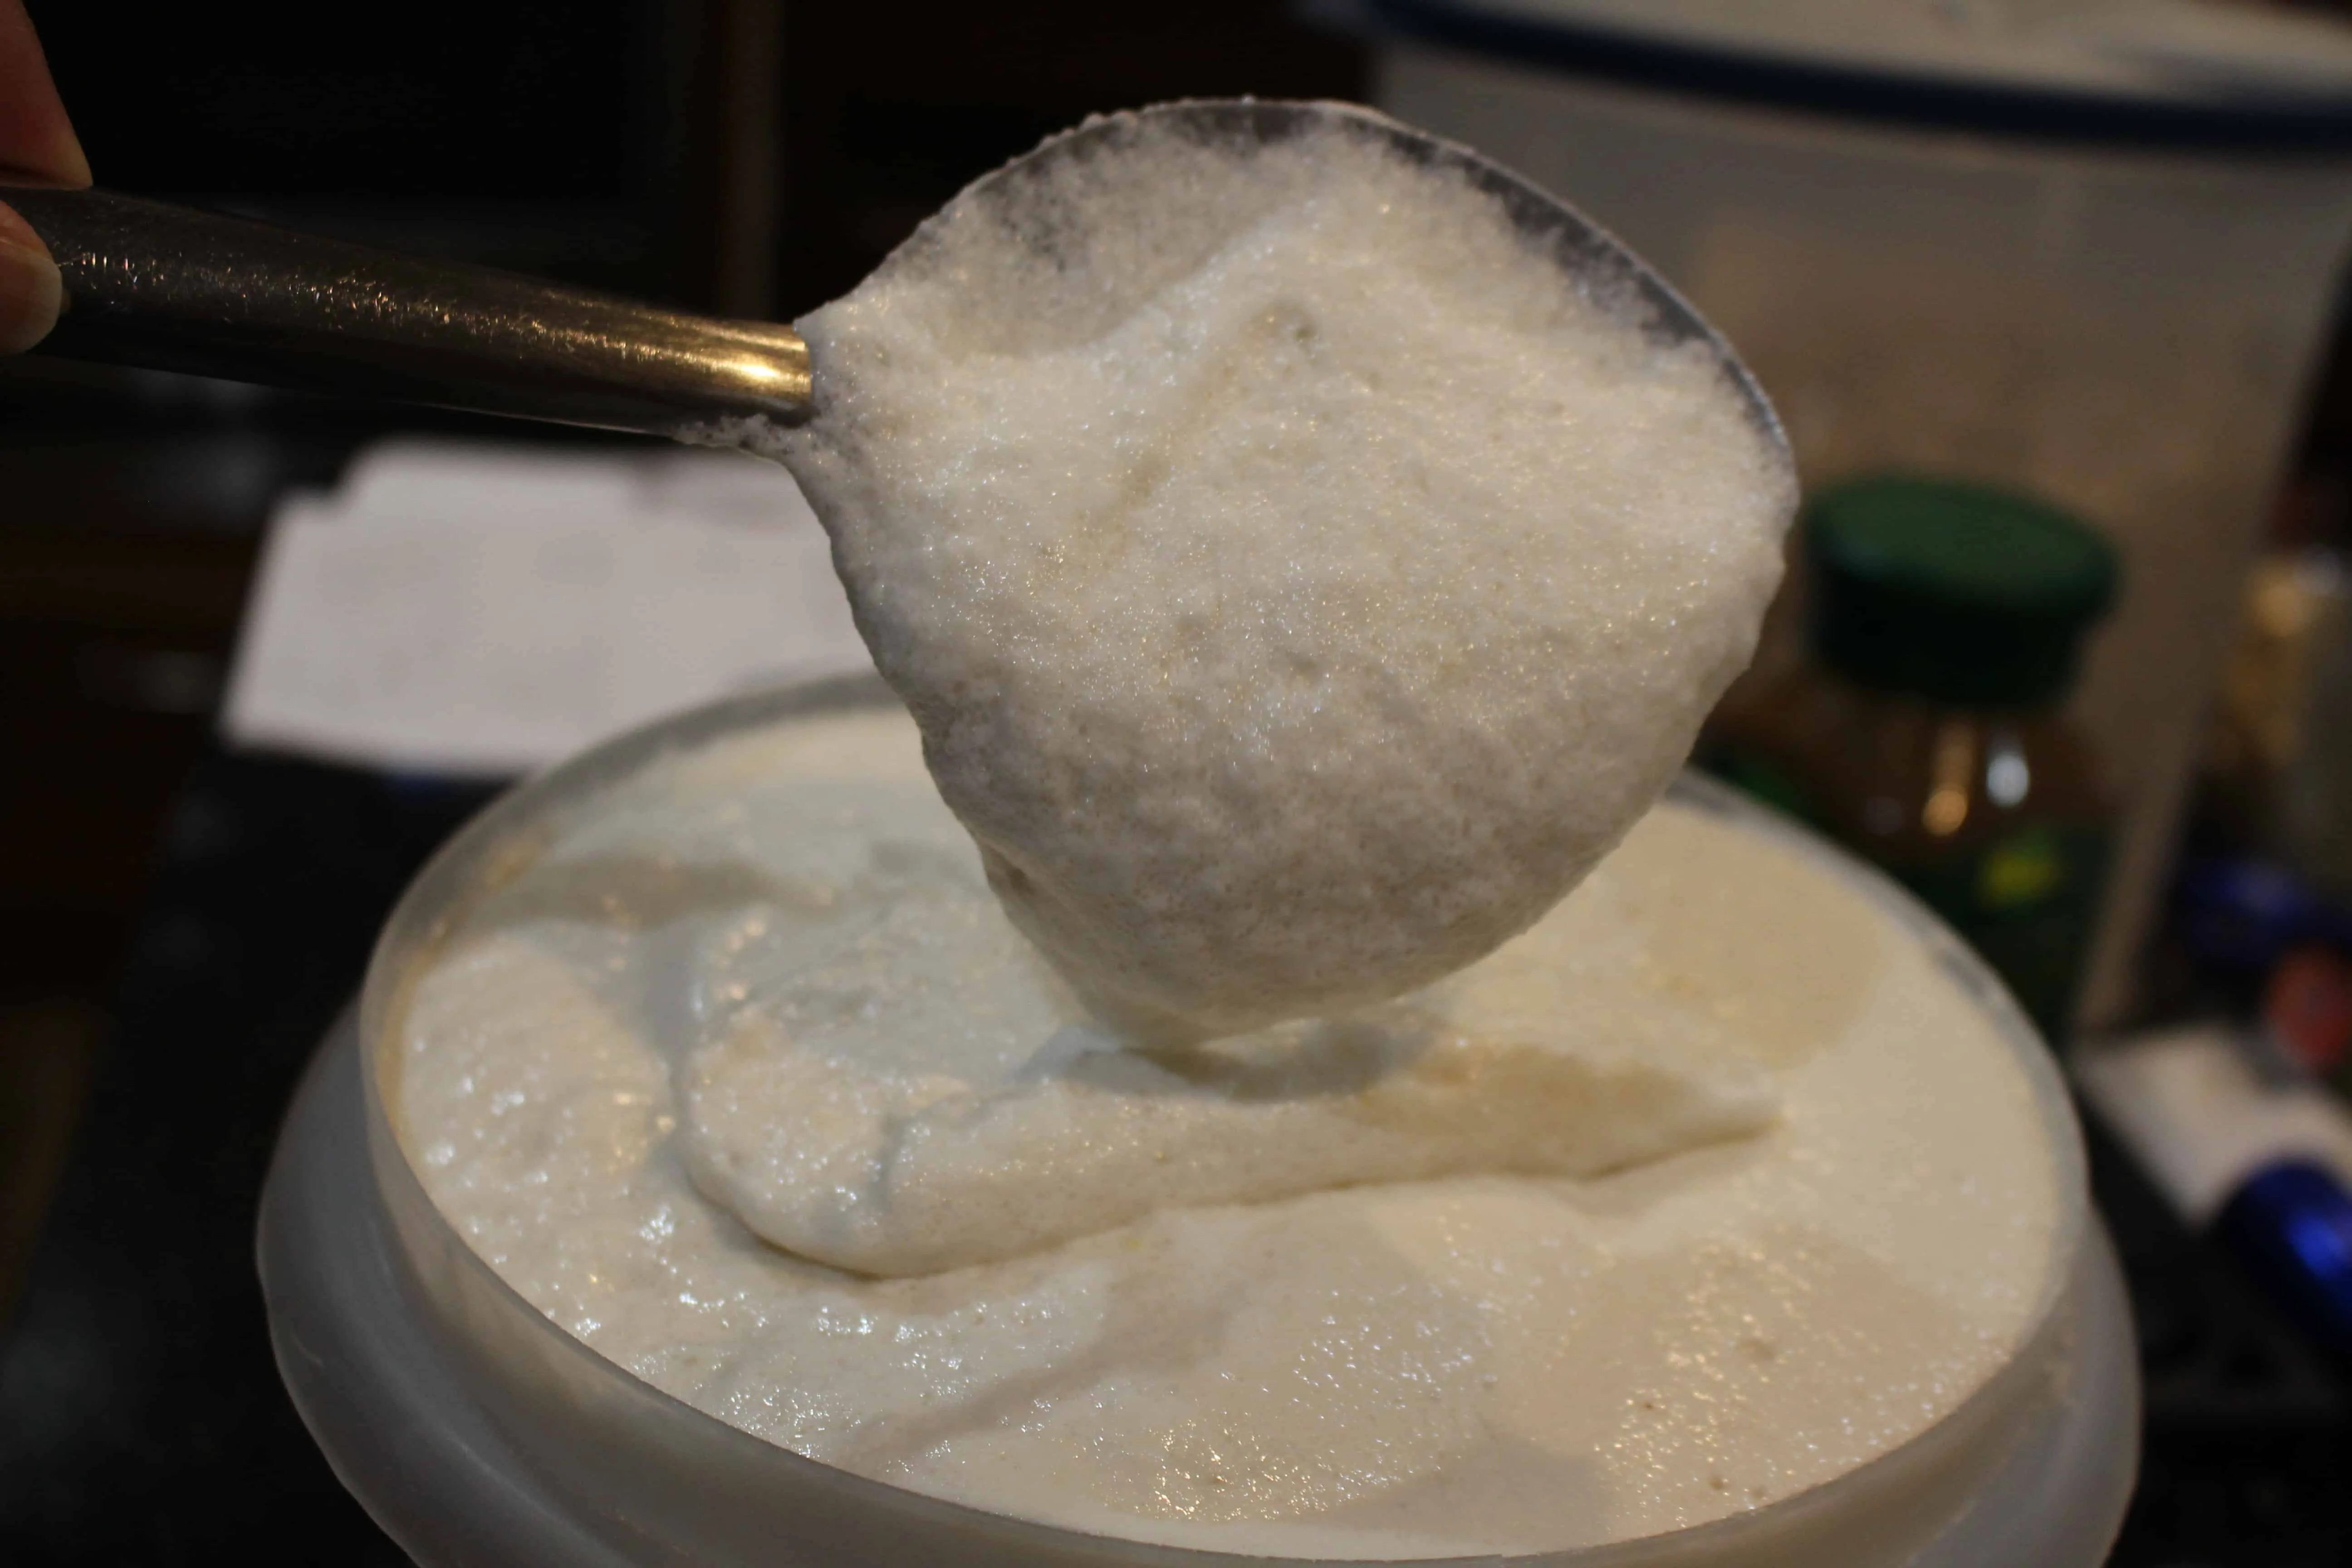
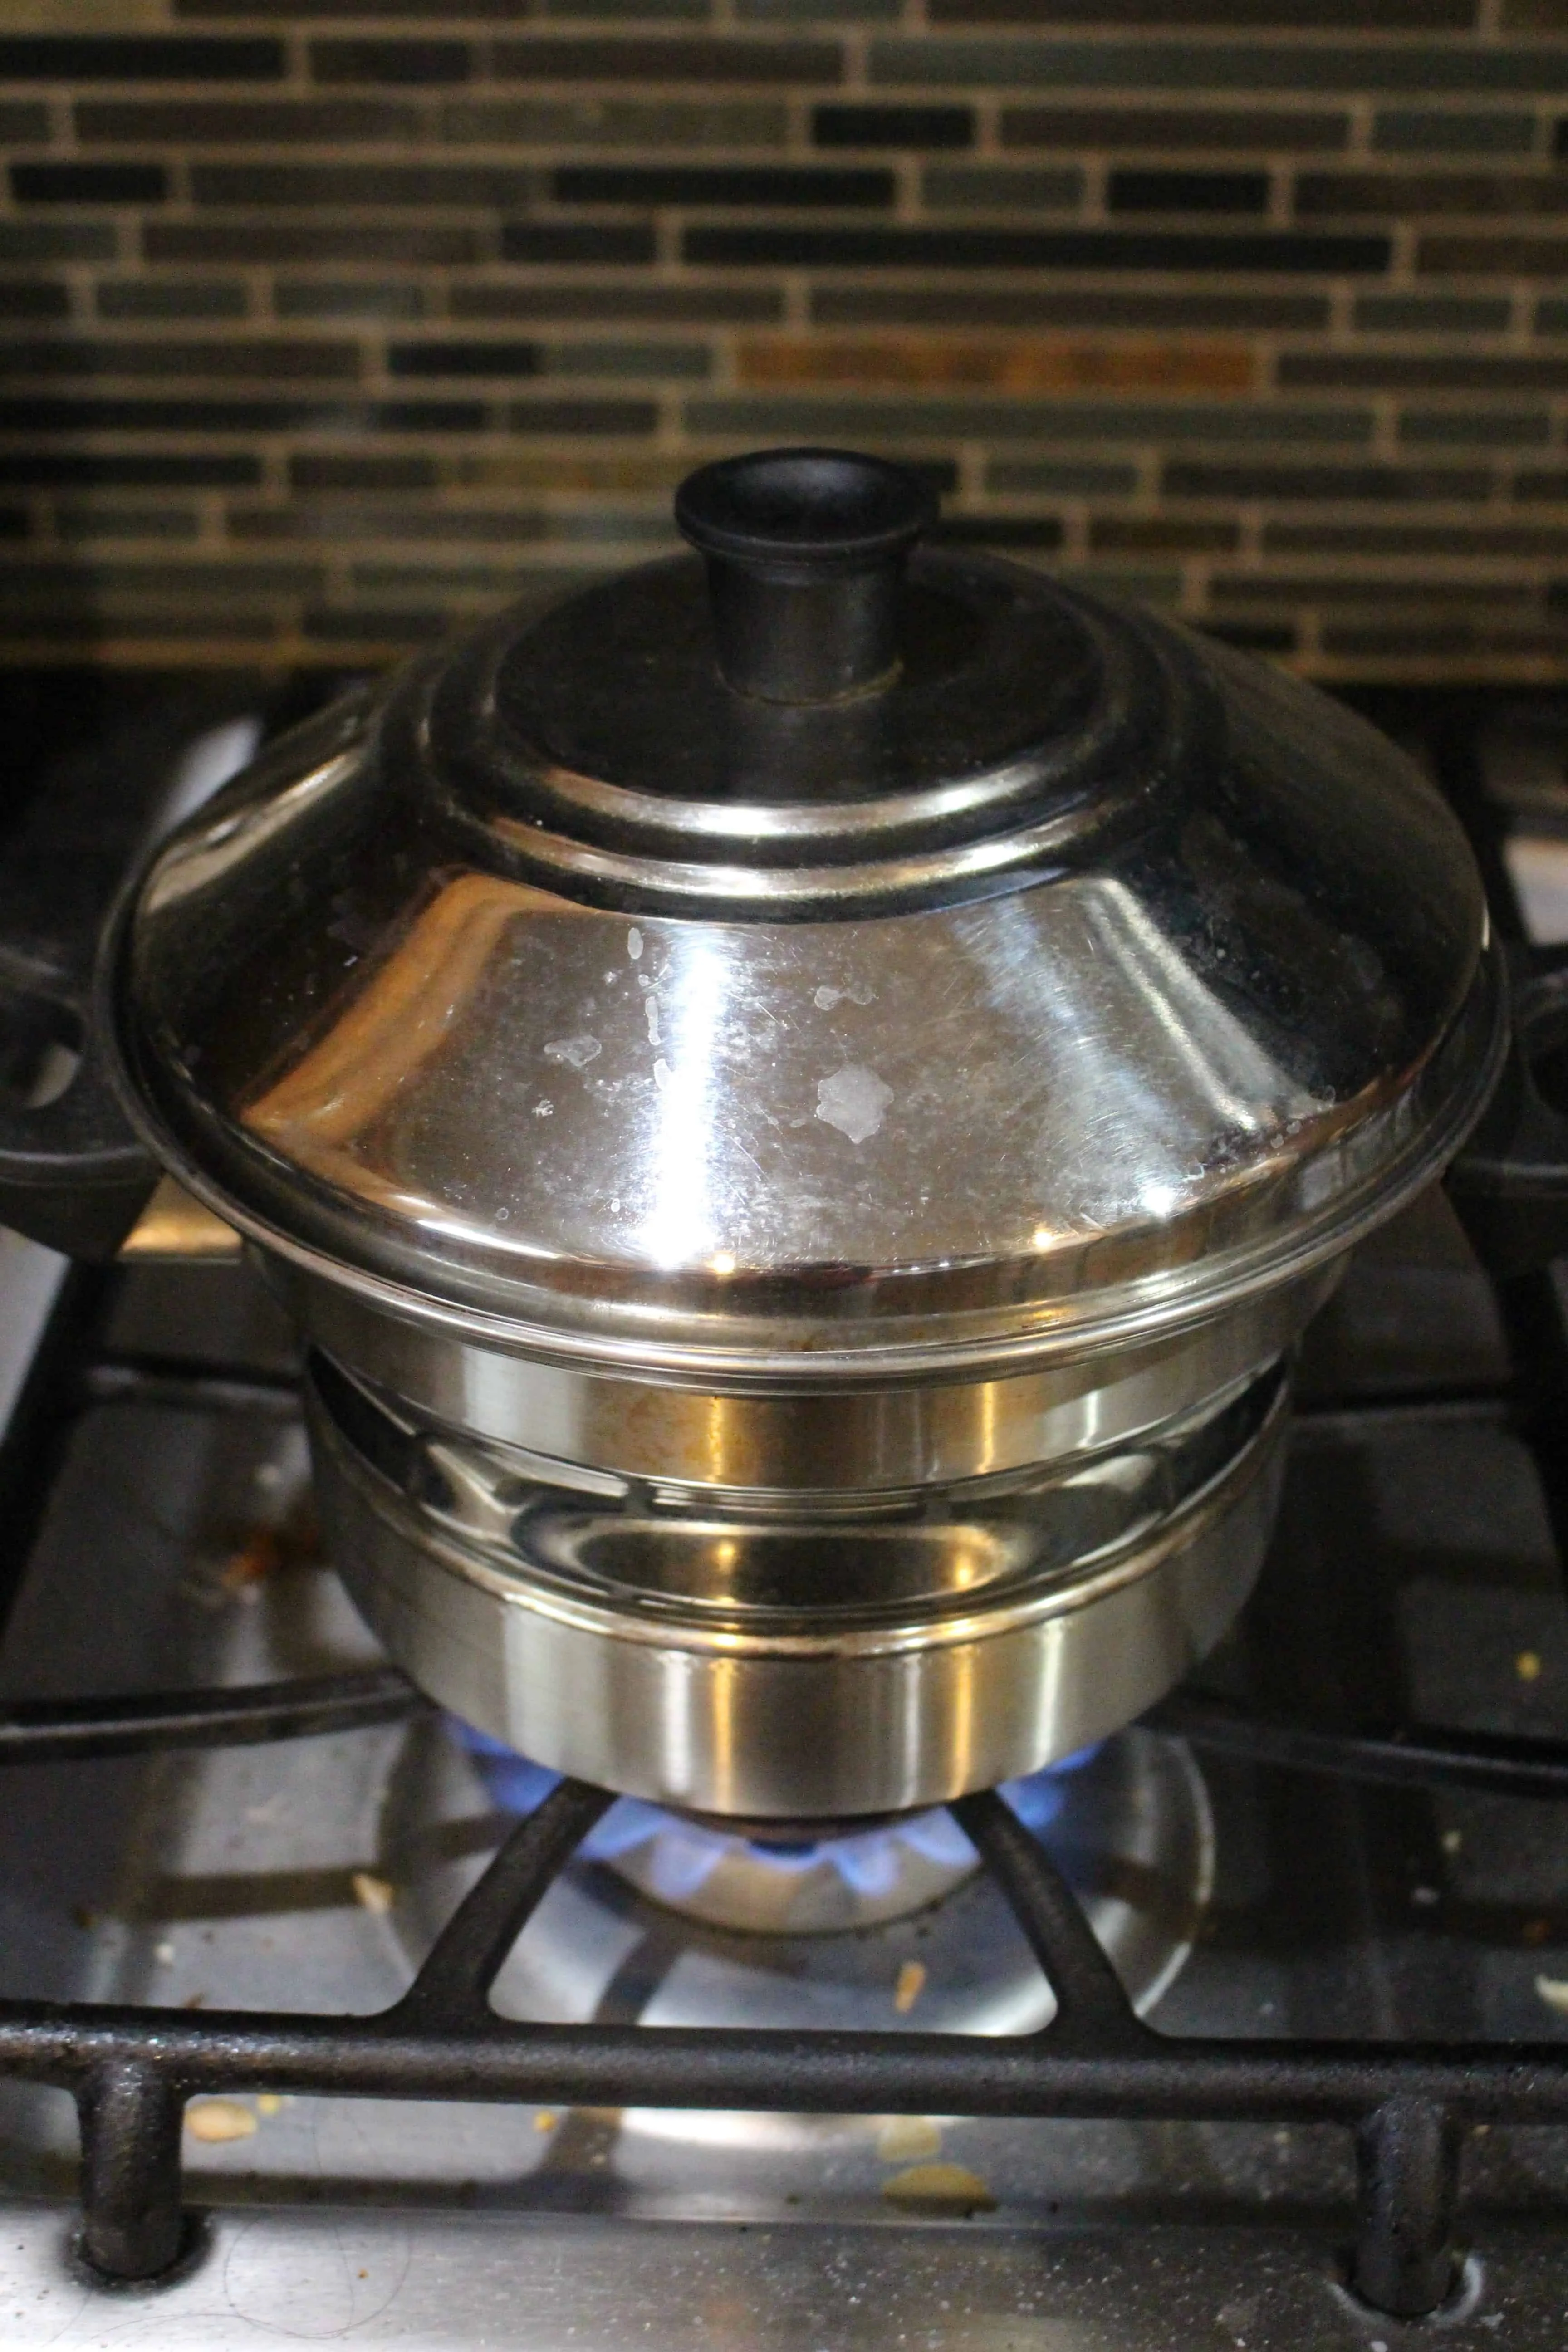
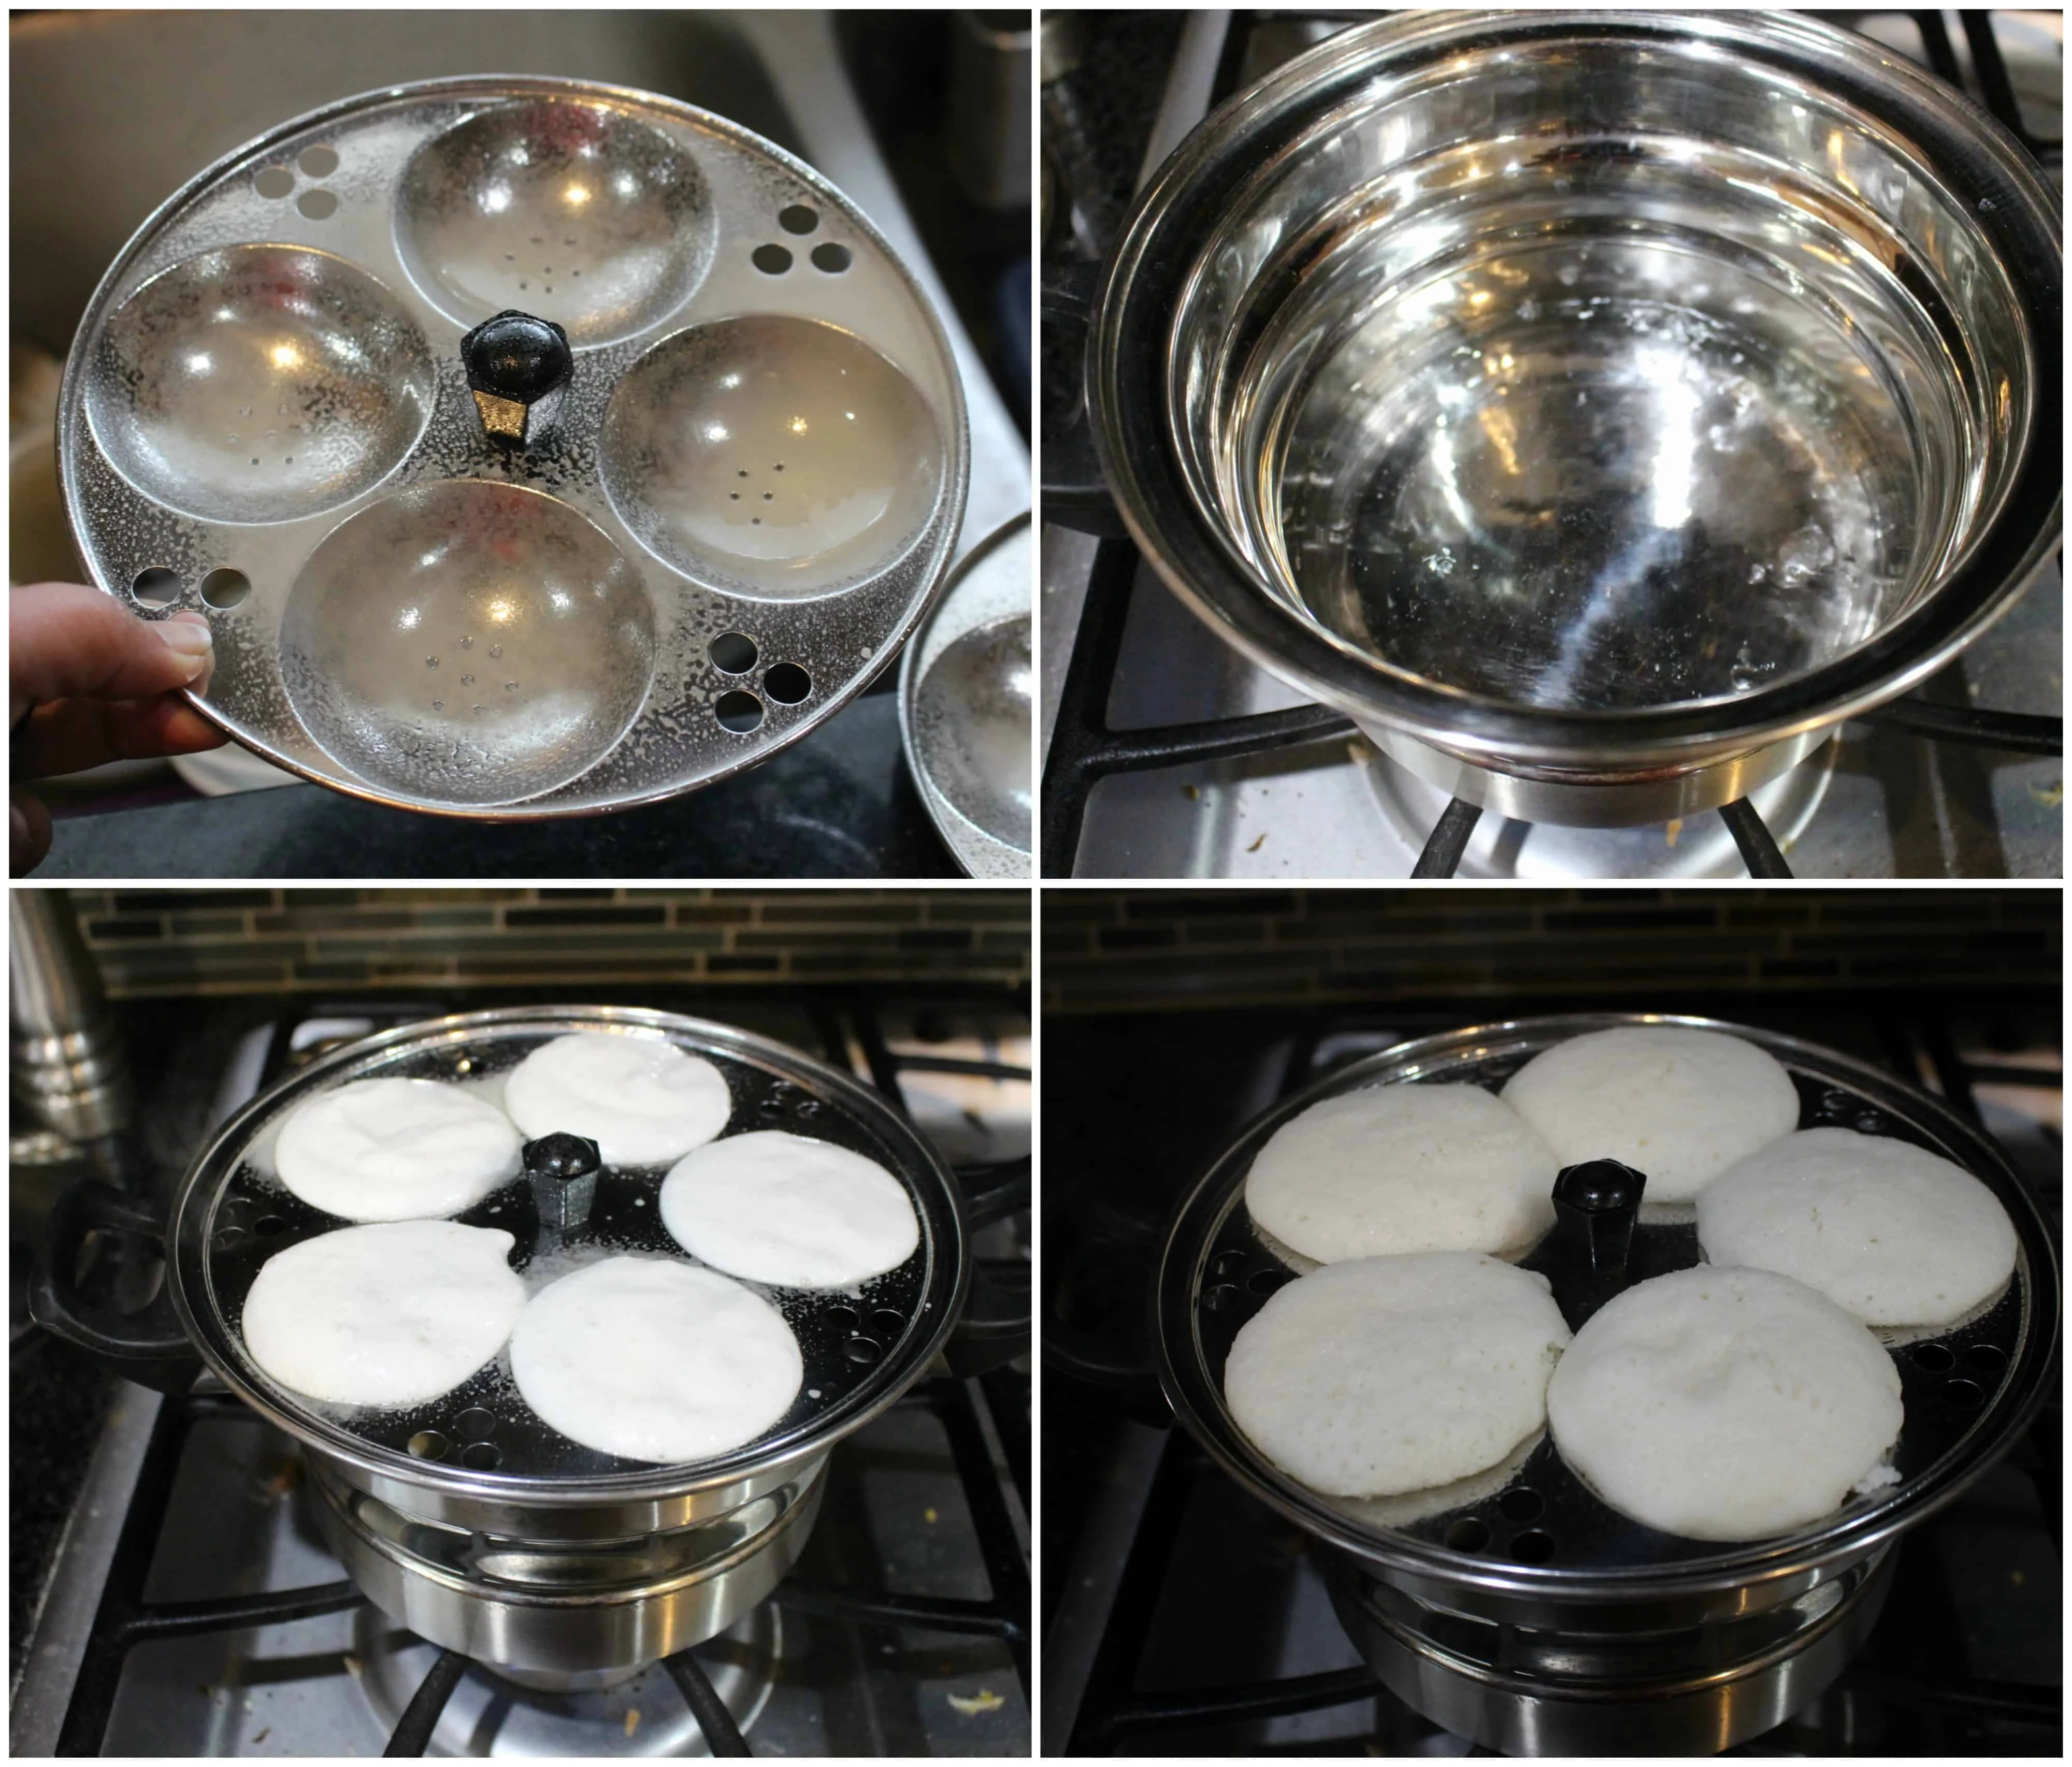
- Add water to the idli pot or pressure cooker or steamer and let it come to a boil.
- Grease the idli plates well and pour a ladle full of batter into the plates.
- Place the batter in the idli pot and steam it for 8 to 10 minutes. The idlis would have puffed up when cooked.
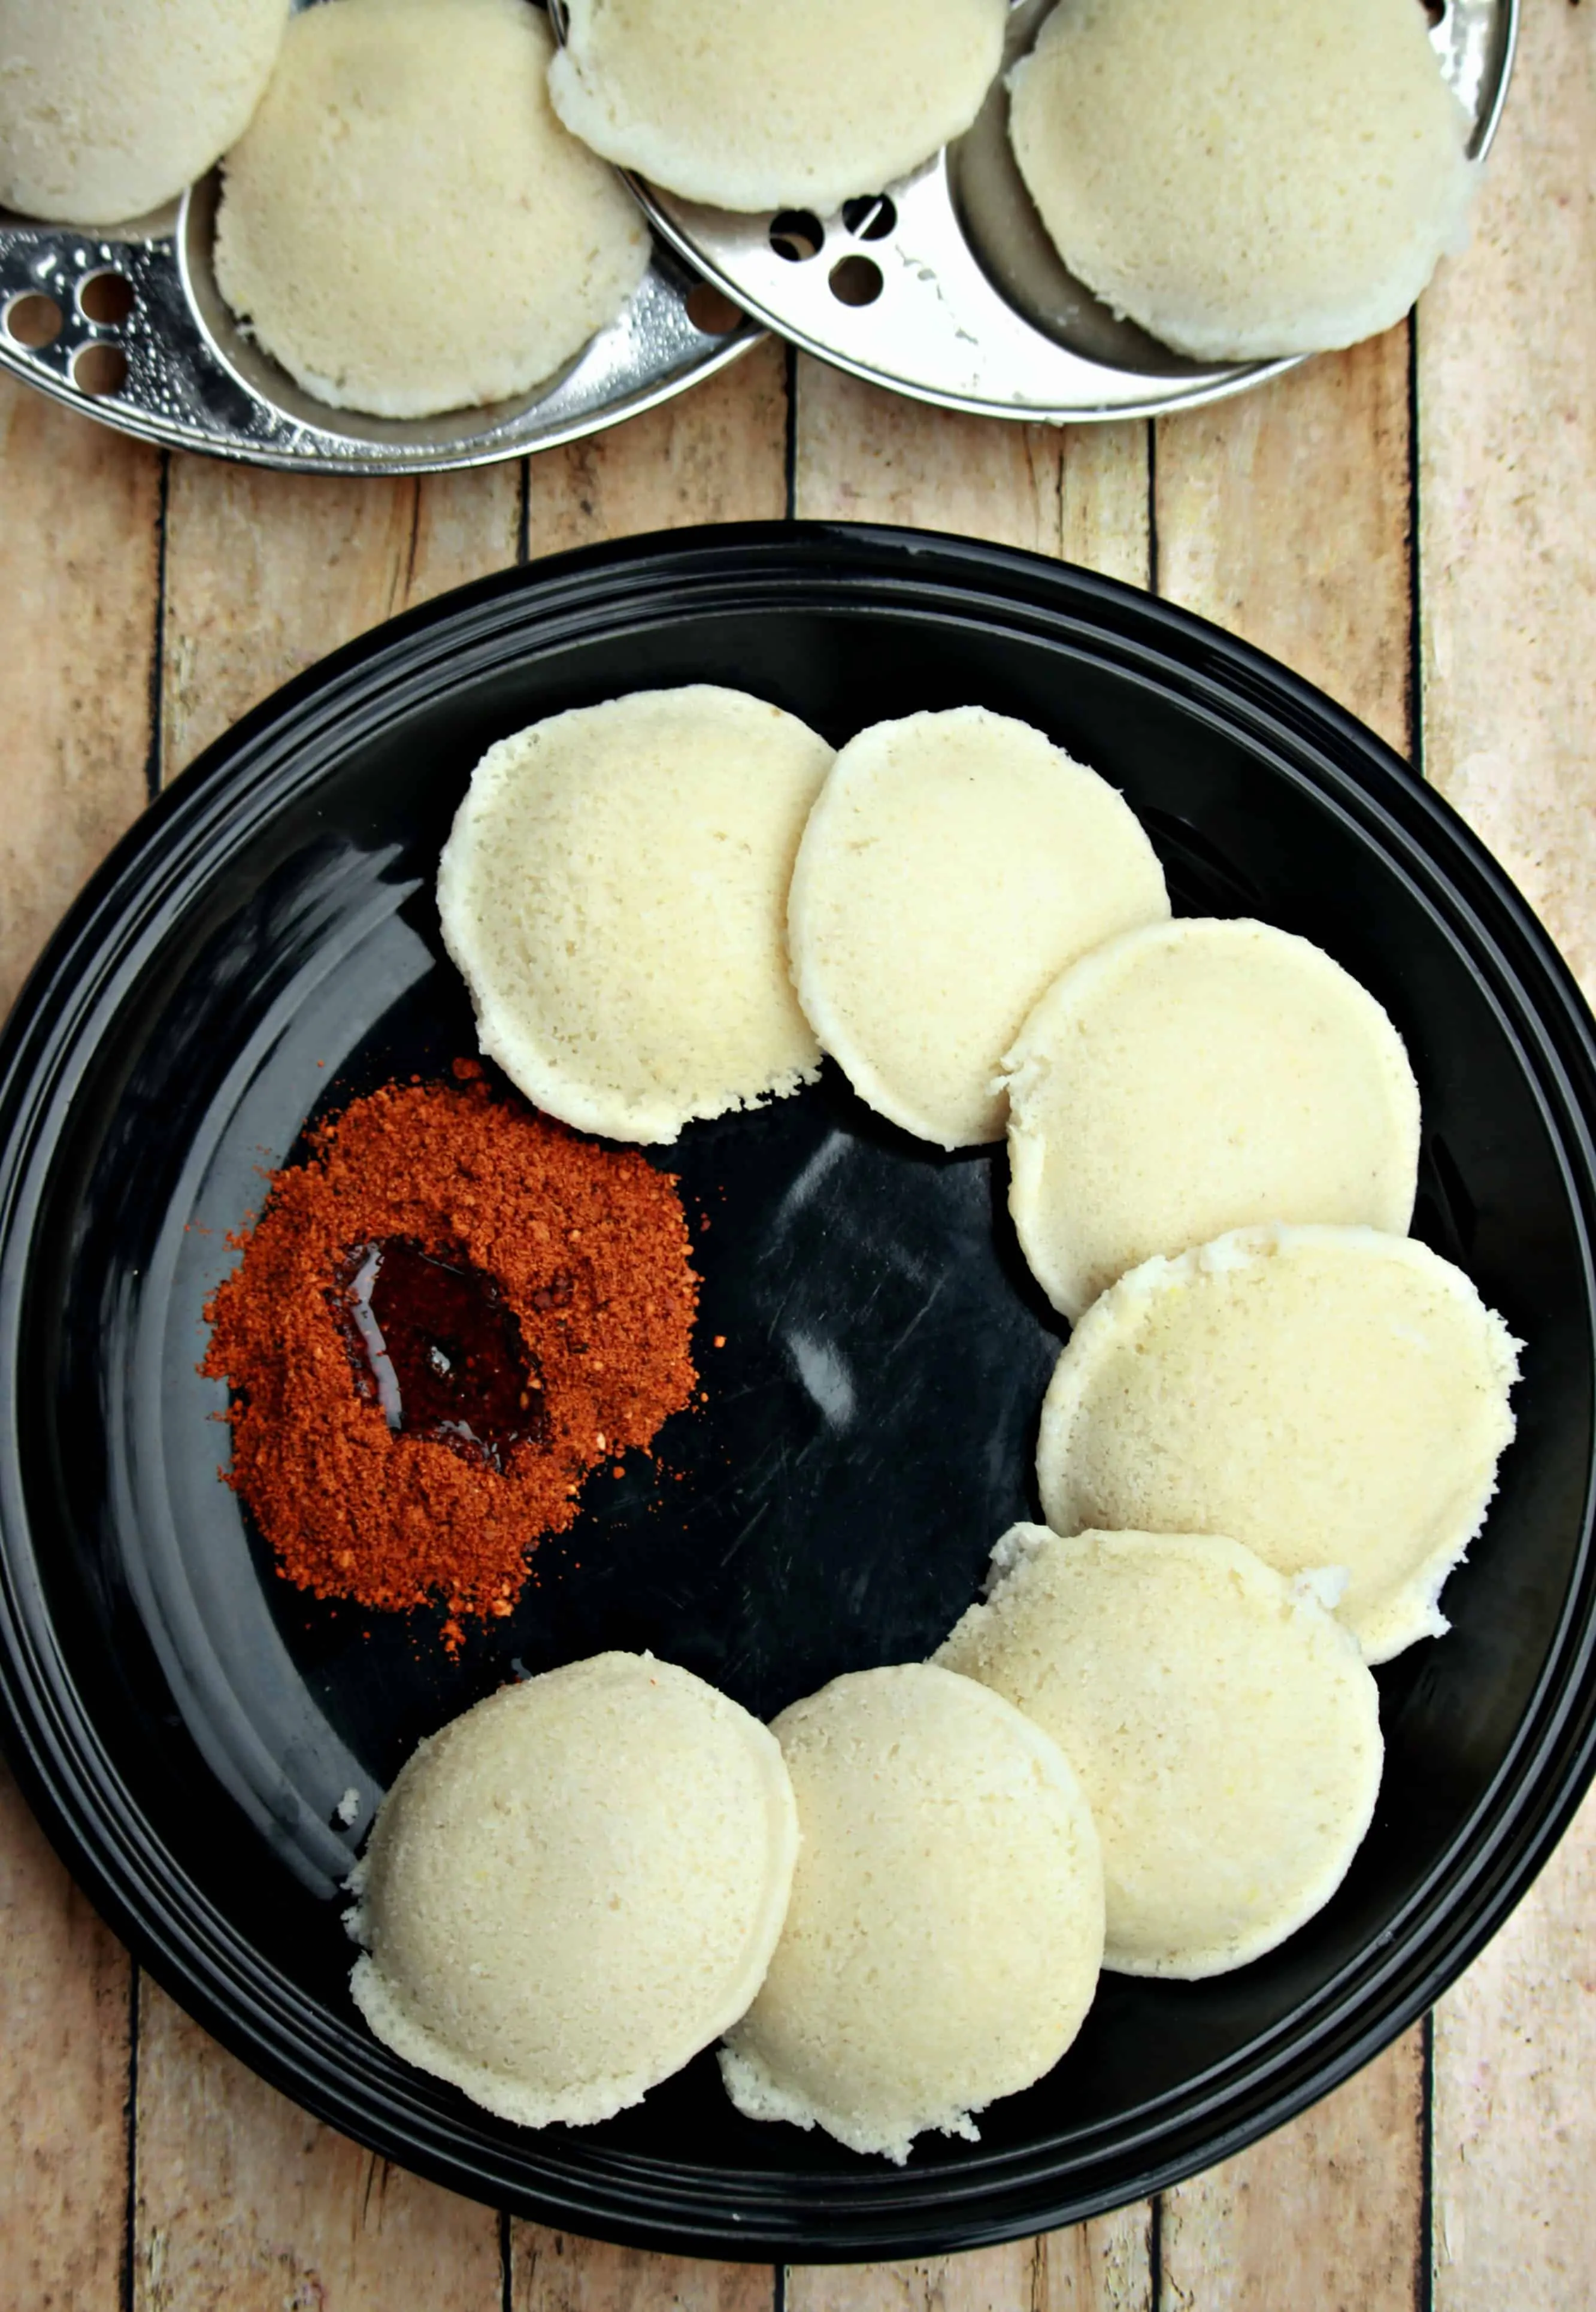
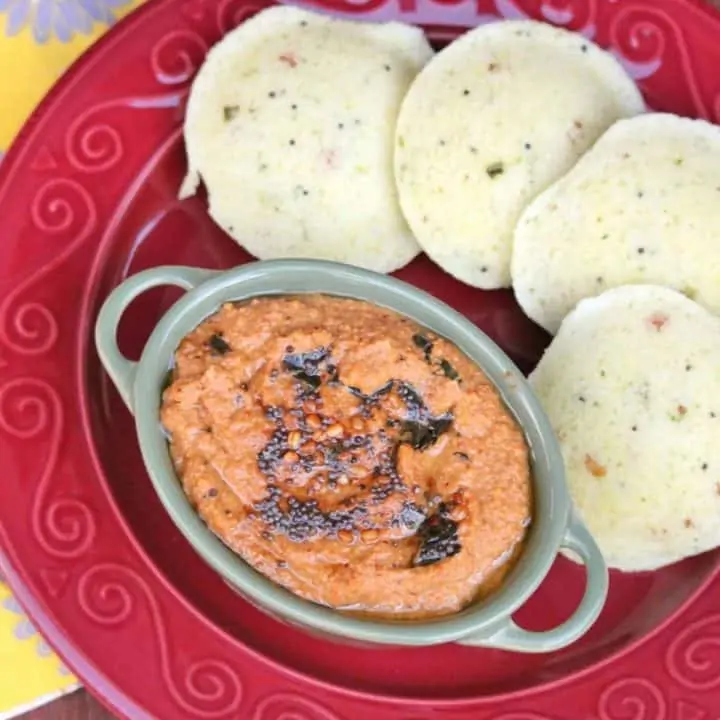
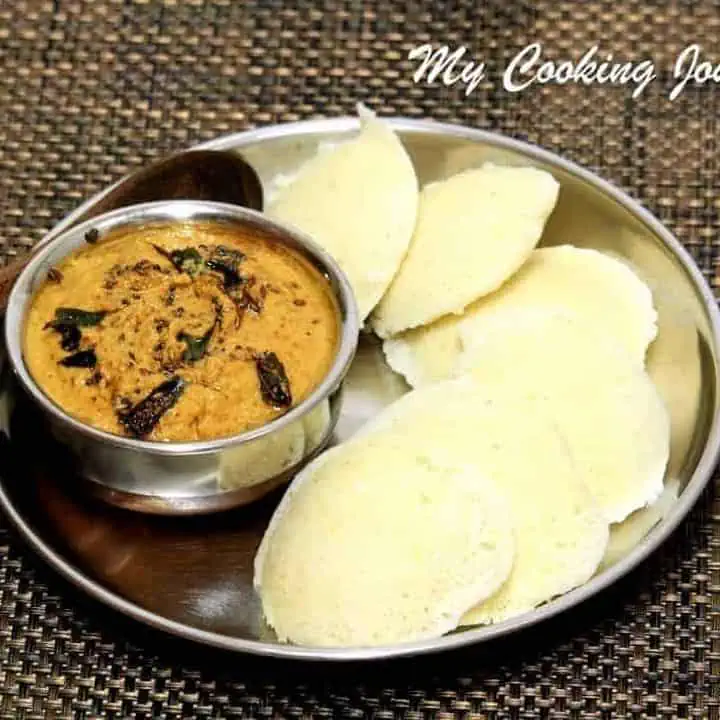
- Let it sit for a couple of minutes and then remove it from the idli plate and serve hot with chutney, sambhar, or my favorite - Milagai Podi.
- The batter for the fermented rice cake stores very well in an air-tight container for a couple of weeks.
Notes and Observation -
- Make sure to use idly rice to make the idli.
- I use whole-skinned urad dal for idli. You could use split ones as well but the texture that we get from the whole urad is very different.
- Fermenting the batter is the most important thing. I usually place mine in a pantry or a kitchen closet to ferment mine. Make sure you place it in a draft-free place. You could place it in the oven as well but I would not leave the lights on as it causes fungal growth.
- Before steaming the idli, heat the water in the pot and then place the idli plate. Also, grease the plates well before pouring the batter.
Chutneys for Idli
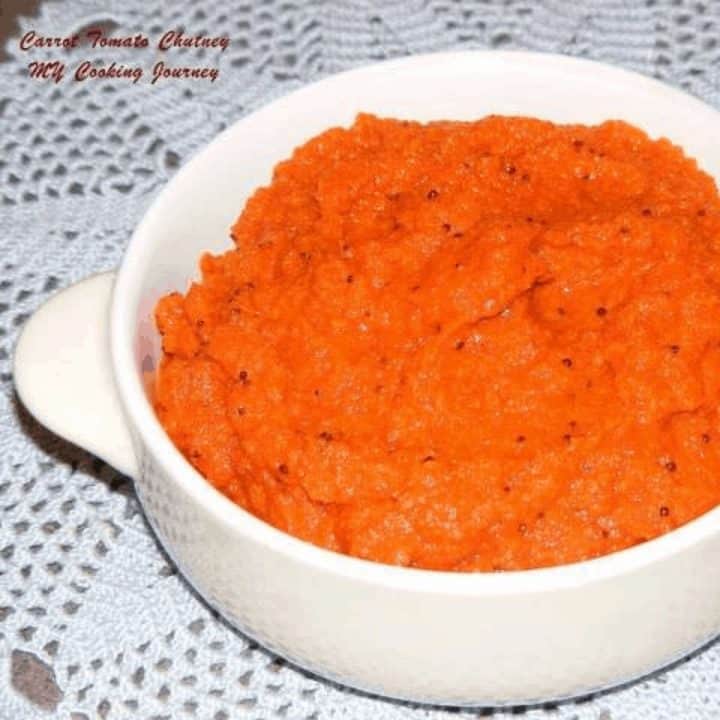
- Carrot Tomato Chutney | Carrot Tomato Thokku
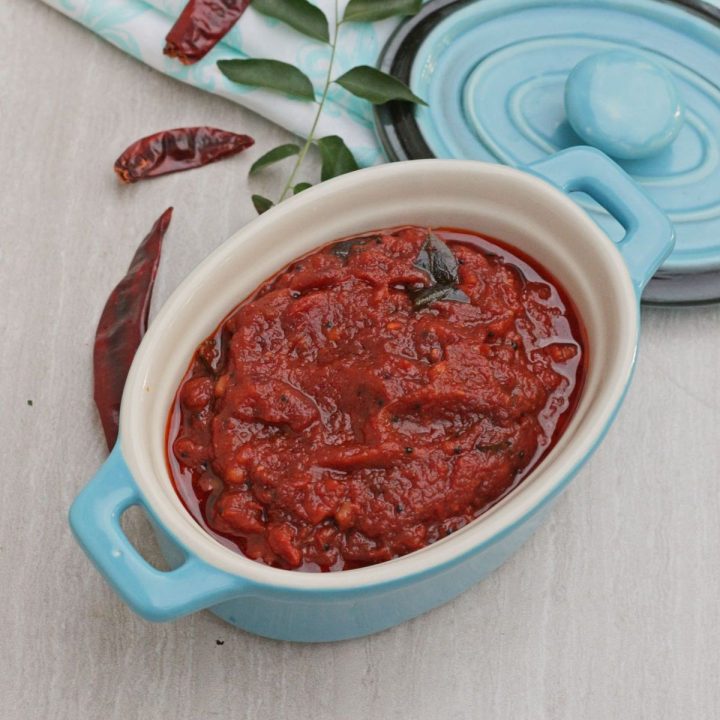
- Kara Chutney | Spicy Chettinad Red Chutney
- Verkadalai Chutney | Peanut Chutney With Ginger And Sesame (Version 3)
- Masoor Dal Chutney | Orange Lentil Chutney
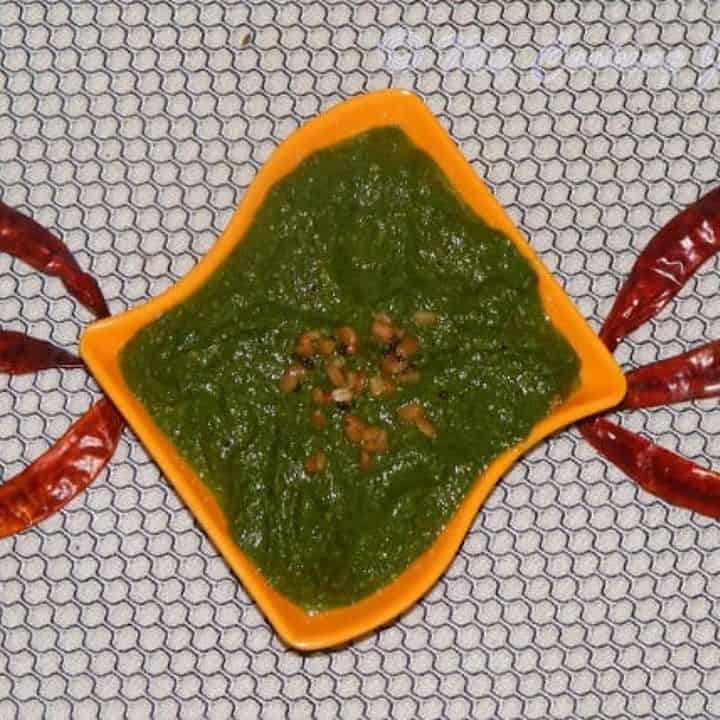
- Kothamalli Thuvayal | Cilantro Chutney
- Ver Kadalai Chutney | Peanut Chutney With Onion (version 2)
- Ullundhu Chutney | Urad Dal Chutney
- Omavalli Chutney | Karpooravalli Chutney | Ajwain Leaves Chutney
If you made this recipe and liked it, give a star rating on the recipe card or let me know in the comments below. You could also share it with me on Instagram using #MyCookingJourney and tagging me @sandhya.ramakrishnan. You could follow me and my recipes on Facebook |Instagram | Pinterest | Twitter/X
Recipe
Idli | Fermented Rice Cake - Vegan and Gluten Free
Equipment
- Idli maker
- bowl
- Spoon
Ingredients
- 4 cups Idli Rice
- 1 cup Urad dal / Ullutham Paruppu I use whole urad
- 1 tablespoon Fenugreek seeds / Vendhayam
- to taste Salt
Instructions
To make the Batter -
- Measure the Idli rice and Urad dal in two separate bowls. Wash them well under running water and soak it for 4 to 6 hours. Add the fenugreek seeds along with the rice when soaking. My mother used to soak the rice first and couple of hours before grinding would soak the dal. I am very forgetful and hence I soak them both at the same time.
- Drain the water and then grind the ullutham paruppu first in a wet grinder. We could grind it in the blender, but it heats up very fast and does not make the batter as fluffy as a wet grinder does.
- When grinding the ullutham paruppu, add water little by little. We want a stiff batter and also adding too much water in the beginning will not grind the dal as well as it should.
- It takes about 20 minutes for the ullutham paruppu to be completely ground and be fluffy and airy.
- Transfer this to a container and keep it covered.
- Now grind the rice adding just enough water. It will take about 15 minutes for the rice to be ground.
- Transfer the ground rice to the same container as the urad dal batter. Make sure the batter is in a container that is twice as big as the batter volume.
- Add the required salt and using your hands mix the batter well. Please note that use your hands to mix the batter. My mother always said that using your hands to mix incorporates some body heat to the batter and helps to ferment better.
- Keep the batter in a warm, draft free place for 8 to 12 hours. Depending on how warm the place, it could take longer than 12 hours. For me it takes any where from 18 to 24 hours.
Making the Idli -
- Once the batter has fermented well, give it a gentle mix.
- Add water to the idli pot or pressure cooker or steamer and let it come to a boil.
- Grease the idli plates well and pour ladle full of batter into the plates.
- Place the batter in the idli pot and steam it for 8 to 10 minutes. The idlis would have puffed up when cooked.
- Let it sit for couple of minutes and then remove it from the idli plate and serve hot with chutney, sambhar or my favorite - Milagai Podi.
- The batter stores very well in an air tight container for couple of weeks.
Notes
- Make sure to use idli rice to make the idli.
- I use whole skinned urad dal for idli. You could use split ones as well but the texture that we get from the whole urad is very different.
- Fermenting the batter is the most important thing. I usually place mine in a pantry or a kitchen closet to ferment mine. Make sure you place it in a draft free place. You could place it in the oven as well but I would not leave the lights on as it causes fungal growth.
- Before steaming the idli, heat the water in the pot and then place the idli plate. Also grease the plates well before pouring the batter.





Hello, I have never heard of idli (forgive my ignorance) and want to try to make it. Is a wet grinder essential? Or could I try making it using a powerful blender? If not, what is a low-cost, beginner wet-grinder please? Thank you very much. 🙂
Hello, You don't need a wet grinder to make the batter for idli. You could use a powerful blender. Fermenting the batter is the key.
Yes sandhya ! Having idli batter ready in the fridge is a life saver Esp in these lockdown days . I make it similarly with slightly lesser rice.
I find the quantity of batter is much more with whole urad. Love these soft idlis, I too make the same way.
Absolutely nutritious and delicious breakfast that can be eaten guilt free.Idli looks so soft and fluffy.Loved the detailed Explanation with all the tips and tricks.
Love idli podi. I must make some and keep the truth is I am lazy n wish you will send me some. 😂
Great post for basics of idlis.
These idlis look delicious It was lovely to read the authentic way of making idlis .
Idli looks so inviting and fluffy.
Batter so fermanente... and perfectly done.
What an interesting recipe! I've never seen nor heard of Idlis but I'd certainly love to taste them. I'll have to keep an eye out for them at the South Indian restaurant nearby. We've never eaten there before but now we have a dish we have to try.
I have never seen anything like these before but they look so good! What an exotic dish...I wish I could try some!
I can't wait to make idly, I love South Indian recipes like dosas so I know I will enjoy your recipe!
What would we do without idly!! 🤔
A perfect breakfast or dinner option! I love idlies bathed in milagai podi! Nothing can beat that taste! Looks superb!
I bet this must be tasty I have seen few recipes with this idli cakes in Pinterest and I always wondered how to make them. The idli plates to form them are also cool I bet you can use for other recipes too.
Idli with podi is yummy.Idlis look so soft. I love idlis anytime. I usually use 3:1 ratio but next time will try 4:1.
Such pillowy soft idlis and with that podi I am sure it must have tasted just amazing. Thanks for sharing stepwise tips and tricks, I will come back ater when going to make idlis as I still need to learn a lot.
fluffy , pillow soft Idlis. Yes, I agree that when I see Idli maavu in the fridge, I cant cook anything else. Although for now, my elder has forbidden idli for her breakfast, so I end up making something else for her. I love Idli with almost anything, but a hot piping sambhar is my favourite ! I generall do 3:1 ratio.
Kundu kundu soft and spongy idlis. I also do 4:1 ratio. I completely agree. The technique that works for one, doesn't work for the other. Weather also plays a major role in the fermentation process. Great pick for I and I did something with idli too. 🙂
They really look spongy and fluffy...Thanks for your small tips will surely follow.
Wanted to ask does it really grow fungus because i alway keep my batter to ferment in an oven with lights on...I never heard of that
Maligai poo idli besh besh.. Always a staple breakfast .With Sambar Chutney and filter Coffee simply the best!!
I have always preferred dosas over idlis..but looking at these idlis..I am sure I would immediately attack on them. These idlis look so nice and fluffy..ah now I feel like having some. Unlike you all we never have idli batter in the frig , it has to be made or procured from the special stores.
They look super soft and spongy. It is surprising to realise that I haven't posted a plain idli recipe on my blog yet 🙂 I use different proportions and I totally agree with you about the subjectivity of the process and ingredients involved.
Super soft Idlis, South Indians cant live without this healthy steamed cakes na, that plate of idlis makes me hungry. I can survive for many days with this nutritious cakes.
To me, it's the most comforting food and i can have it on any time of the day without any complaint. Idli looks so soft and fluffy and you have explained it so well,Sandhya !!!
omg sandhya idli looks so fluffy and such a detailed post , wonderfully explained 🙂 I will have to come back and read the recipe completely 🙂 summa panju maari irruku !! semma semma !!
The Idlis are super soft and inviting Sandhya. so wonderfully made. I can literally live on this the whole day!
The idlis are so soft and fluffy.. With the podi on the side it looks divine.
The idlis looks super soft and spongy! I feel like something is missing if there isn't idli batter in the fridge! I keep stock of it all through and as you said one batter works for so many dishes!