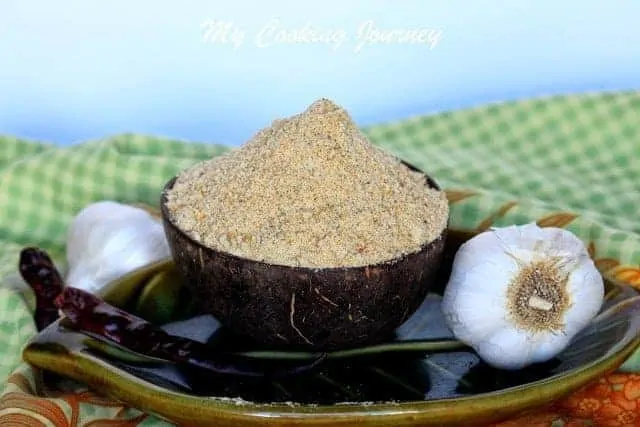
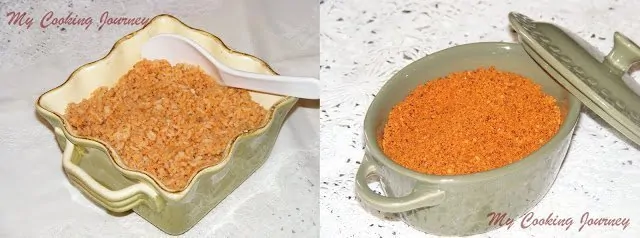
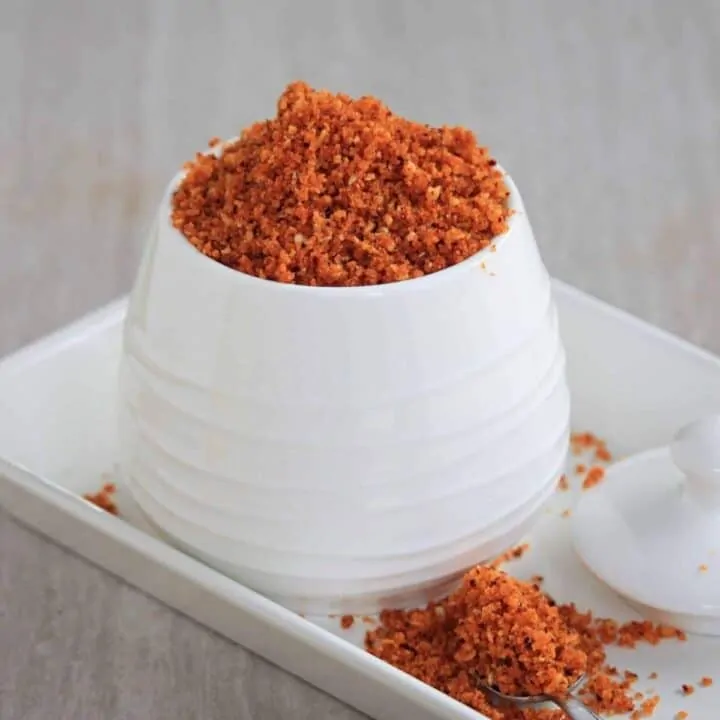
Poondu Paruppu Podi – Garlic Paruppu Podi
One of the most flavorful spiced podi to eat is this Poondu Paruppu Podi or Garlic Paruppu Podi. All we need is some warm rice with a drizzle of sesame oil to eat this ultimate comfort food.
When choosing this theme of readymade products made at home, I clearly remember Srivalli mentioning not to use any recipes from your own cuisine. I still made this paruppu podi for the theme because this is something I always bought from stores in India along with me on my trip back to the US.
Amma always made the plain paruppu podi at home and packed it for me. I buy small packets of garlic paruppu podi from Ambika Appalam stores and mix a part of the garlic powder into the homemade paruppu podi.
The garlic paruppu podi from the stores is very garlicky in flavor, and it can be overwhelming at times. When I mixed it up with the homemade paruppu podi, it balanced out the garlic flavor very well.
It has been a while since I went to India, and I was really missing this spiced lentil powder. Hence, I took this opportunity to make this podi that I have always bought from stores. When made at home, the flavors can be adjusted to suit your needs.
The garlic flavor in this podi is medium and was just right for me. If you like, you might increase or decrease the amount of garlic used in the recipe.

Ingredients to make Poondu Paruppu Podi - Makes 1 ½ cups
- Tuvaram paruppu / Red gram dhal - ½ cup
- Pottu Kadalai / Dalia / Roasted gram - ½ cup
- Poondu / Garlic - 1 small head (about 12 cloves)
- Milagu / Peppercorns - 1 tbsp
- Milagai Vathal / Red chilies - 2
- Salt - to taste
- Oil - 1 tsp

Procedure -
- Peel and clean the garlic cloves. Give each clove a smash and keep it aside.
- Heat about ½ teaspoon of oil in a pan and add the thuvaram paruppu. You could roast the dal without any oil as well, but Amma told me that the powder might become too dry when ground and asked me to use a few drops of oil. Fry the dal until it is golden brown. Remove it to a wide bowl or plate.

- In the same pan, add the dalia/roasted gram and fry it as well. This takes very little time to roast, hence keep stirring and remove it as soon as it starts to change color. Add it to the same bowl that we have the dal.

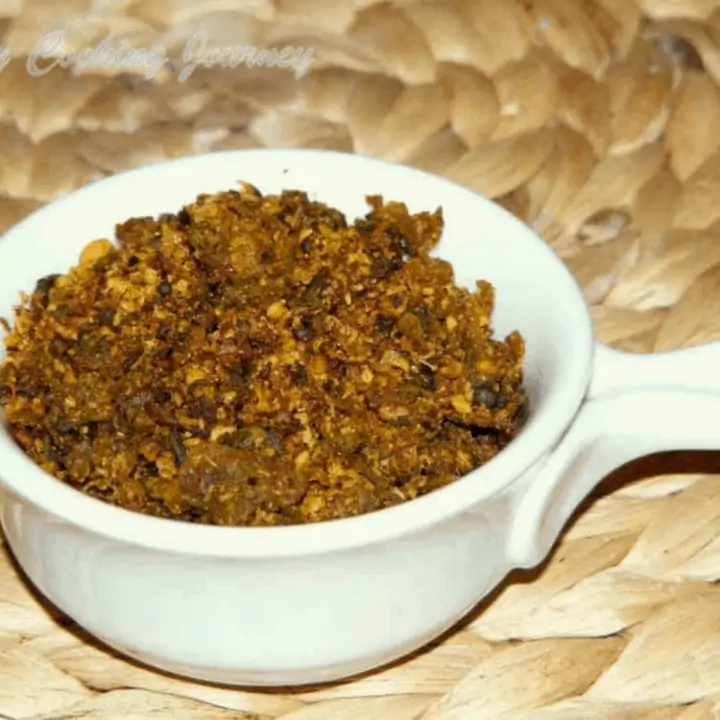
- Next, add a couple of drops of oil and fry the red chilies and black pepper. It is important to add a bit of oil here, as it might smoke a lot without oil. Fry them until they become aromatic and change color. Remove it and add it to the bowl along with the rest of the ingredients.

- Add the remaining ¼ teaspoon of oil and fry the cleaned and smashed garlic cloves until they are golden brown in color. Remove it from the pan and place it separately to cool down.

- Now, in the same pan, add the salt and give it a quick roast. Remove it with the rest of the ingredients.

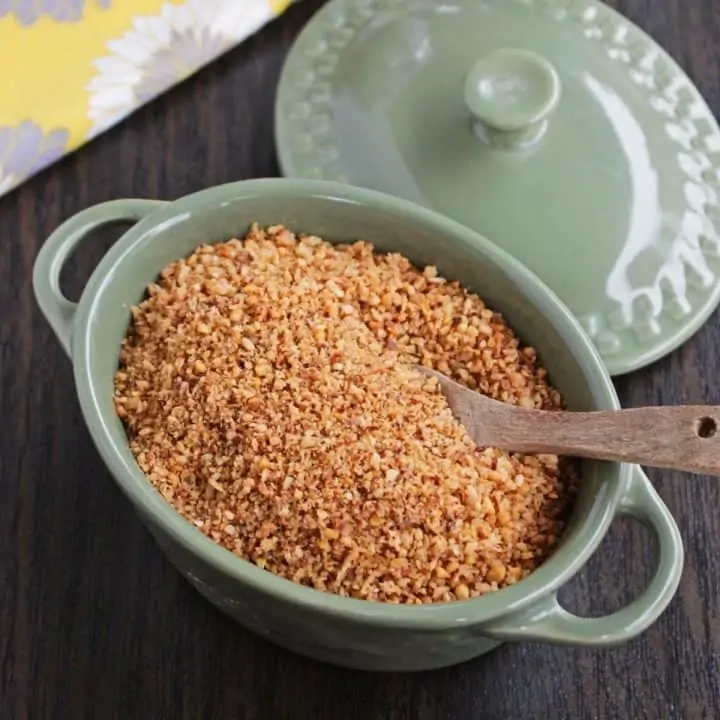
- Let all the ingredients cool down to room temperature and then transfer them to the blender jar.

- I ground the dal mixture first until it was coarsely powdered, and then added the garlic cloves and ground them until smooth.
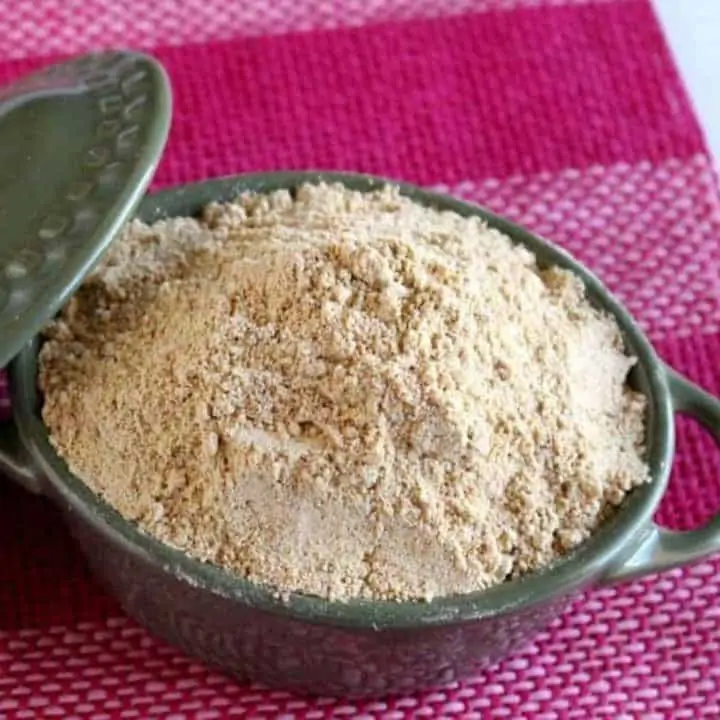
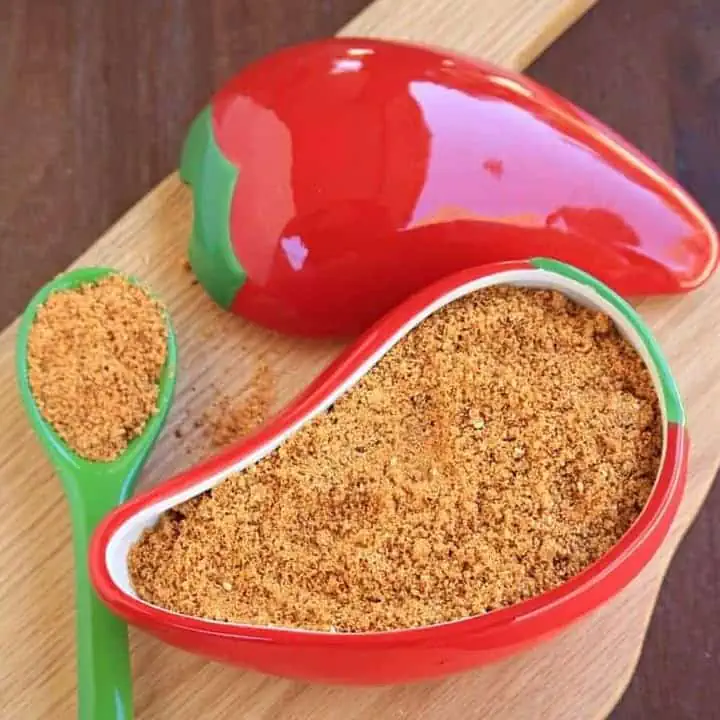
- Remove it from the blender jar to a wide bowl and let it cool down again for about ½ hour, and then transfer it to an airtight container.
- Serve the Poondu Paruppu Podi with steaming hot rice and a drizzle of gingelly oil.

More Spice Powder Recipes
If you made this recipe and liked it, give a star rating on the recipe card or let me know in the comments below. You could also share it with me on Instagram using #MyCookingJourney and tagging me @sandhya.ramakrishnan. You could follow me and my recipes on Facebook |Instagram | Pinterest | Twitter/X
Recipe

Poondu Paruppu Podi - Garlic Paruppu Podi
Equipment
- Blender
- pan
- Stove
Ingredients
- ½ cup Tuvaram paruppu / Red gram dhal
- ½ cup Pottu Kadalai / Dalia / Roasted gram
- 1 small head Poondu / Garlic About 12 cloves
- 1 tablespoon Milagu / Pepper corns
- 2 Milagai Vathal / Red chilies
- to taste Salt
- 1 teaspoon Oil
Instructions
- Peel and clean the garlic cloves. Give each clove a smash and keep it aside.
- Heat about ½ teaspoon of oil in a pan and add the thuvaram paruppu. You could roast the dal without any oil as well but amma told me that the powder might become too dry when ground and asked me to use a few drops of oil. Fry the dal until it is golden brown. Remove it on a wide bowl or plate.
- In the same pan, add the dalia/roasted gram and fry it as well. This takes very little time to roast, hence keep stirring and remove it as soon as it starts to change color. Add it to the same bowl that we have the dal.
- Next add couple of drops of oil and fry the red chilies and black pepper. It is important to add a bit of oil here as it might smoke a lot without oil. Fry them until they become aromatic and changes color. Remove it and add it to the bowl along with the rest of the ingredients.
- Add the remaining ¼ teaspoon of oil and fry the cleaned and smashed garlic cloves until it is golden brown in color. Remove it from pan and place it separately to cool down.
- Now to the same pan add the salt and give it a quick roast. Remove it with the rest of ingredients.
- Let all the ingredients cool down to room temperature and then transfer it to the blender jar.
- I ground the dal mixture first until it was coarsely powdered and then added the garlic cloves and ground it until smooth.
- Remove it from the blender jar to a wide bowl and let it cool down again for about ½ hour and then transfer it to an airtight container.
- Serve the Poondu Paruppu Podi with steaming hot rice and a drizzle of gingelly oil.
I love anything garlicky & this poondu paruppu podi is just mouthwatering! All I just need some hot rice or hot idlis with a dollop of ghee...yummmmm 😋
I love the strong and pungent flavours of garlic and what else needed when I get a chance to make an interesting poondu paruppu podi to be cherished with rice.
This garlic paripu podi seems to be the one I have to keep. I really struggle at times to find stuff to eat with the rice. So this will solve that problem.
Love to try out variety of South Indian podis as they are so healthy amd flavorful. Love this one with red lentils and garlic.
Garlic Paruppu Podi sounds so very interesting Sandhya. I am amazed how podis are an integral part of South Indian cuisine.
Need to try this soon.
Never tasted podi with garlic in it! I would love to try this for dosa and rice. Can we blend this with a coffee grinder?
I'm totally amazed at the huge variety of podi that South India has to offer. Sandhya, your poondu paruppu podi sounds very tempting with garlic added to it. Can image how it tastes with idli and sprinkled over rice with a bit of ghee.
Wow! this poondu paruppu podi is so very yum. I am sure hubby will love it, I definitely need to try making it for him. Thanks, Sandhya.